This is a sponsored conversation written by me on behalf of Cricut. The opinions and text are all mine. This post contains affiliate links.
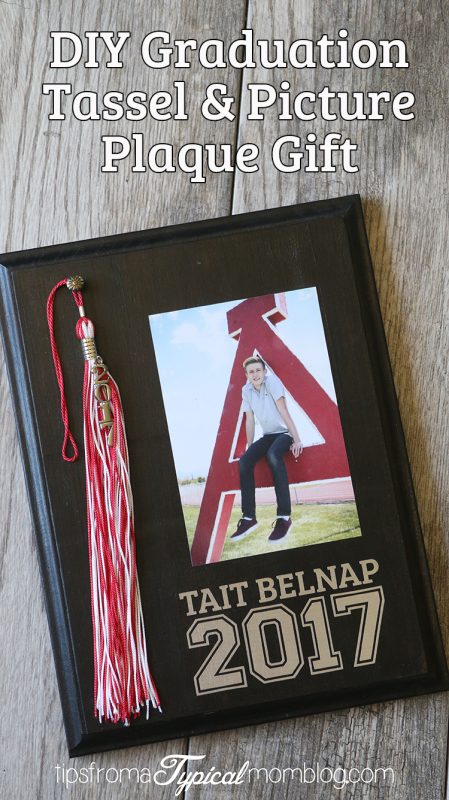
Wonder how to display your child’s senior picture and their graduation tassel?
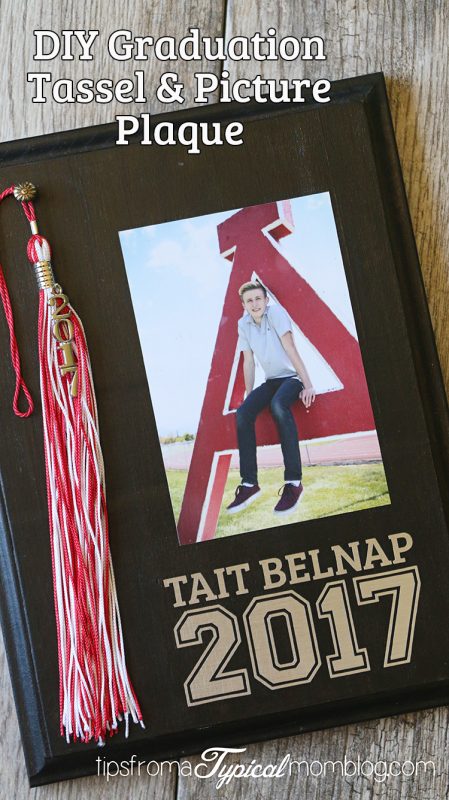
Well, I have the best way because it’s a DIY project you can do yourself and customize with your Cricut Machine. Today I’ll be showing you how to make a Graduation Tassel and Senior Picture Display Plaque so you can give it to your graduating senior as a personalized gift.
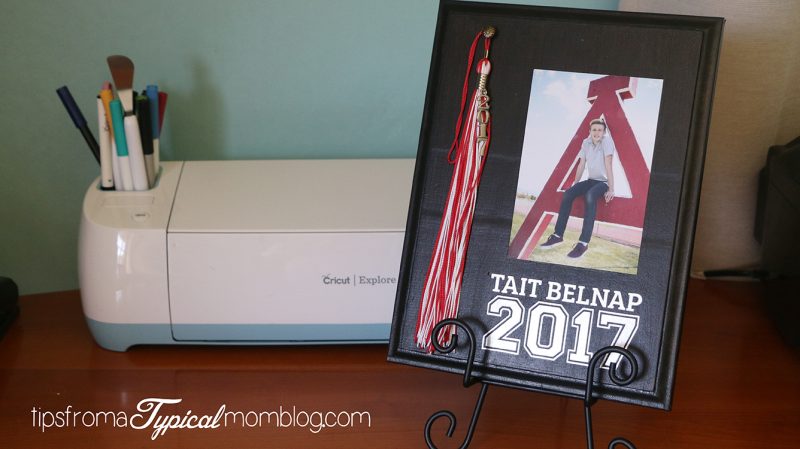
My son is graduating TODAY. I’m freaking out because he’s my oldest and this is my first time experiencing something like this. I still vividly remember graduating from the same high school myself, many years ago. When I ordered his Cap and Gown, I ordered an extra tassel so he could have one on his rear view mirror and so I could use the other one specifically for display. They really don’t cost that much. I think it’s worth buying two.
My son and daughter were walking through Walmart a few months ago and they stopped at all the graduation gifts they had on display. She took me back to the store to show me the things he wanted, and a frame like this was the thing that stood out the most to him. I was a little surprised because I didn’t think boys cared too much for their tassels and pictures, but apparently this was important to him. I didn’t really like the way the frame looked, and I wanted to be able to put his name on it somewhere, so I decided to make my own.
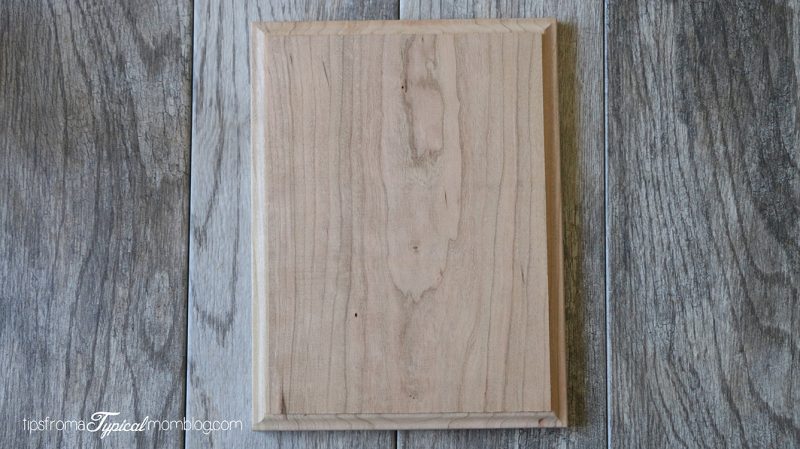
My son takes an advanced woods class. He loves it! He has made his own night stand and his own full sized desk. With drawers and everything. He is a very talented wood worker. That’s why we gave him a JORD Wood Watch for one of his graduation gifts. See my post about that HERE. I had bought a plaque at Hobby Lobby to make this out of but when he came home from school he looked at it and said, “Mom, why did you buy that? I can make you one of those out of oak in my woodworking class!” So, I took back the pine plaque and he made me a gorgeous oak plaque. If you don’t have a child in wood’s class, just head to Hobby Lobby or any craft store. They have these plaques for about $3. Super cheap.
Now let’s move on to the tutorial on how to make these. If you don’t have a Cricut, you probably know someone who does. You can ask them to help you make the vinyl name and year stickers. If you don’t have a Cricut, what are you waiting for? I love mine so much and I use it way more than I thought I would. Especially to make personalized gifts like this one. But also for making cards, home decorations and visual aids while teaching primary.
What you’ll need:
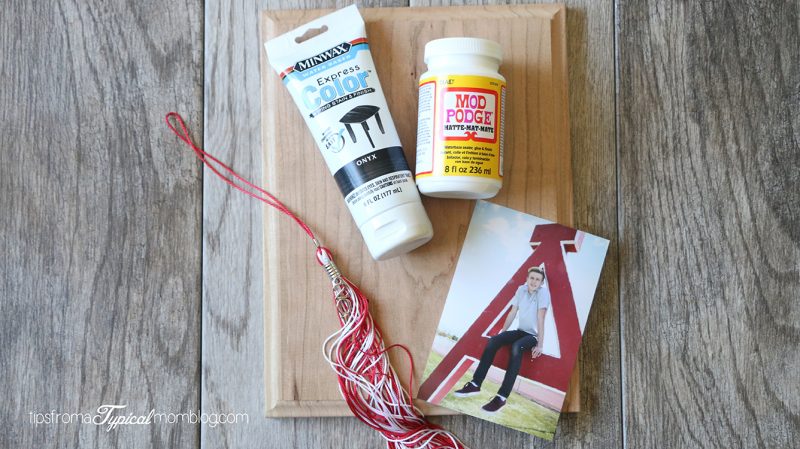
- Wood Plaque sized about 7×9
- Sand paper
- Paint or wood stain
- Mod Podge
- Metallic or regular vinyl
- Transfer tape
- Decorative nail or hook
- Senior picture sized 4×6 verticle
- Graduation Tassel
- Sand the wood plaque going with the grain. Don’t forget the sides and edges too.
- Paint or stain the wood plaque and let the paint dry completely. I use a blow dryer set to cold to help speed up this process.
- Create your cut file in photoshop with a transparent background and save it as a .png file. I used the Collegiate font for the numbers and Bree Serif for his name.
- Upload the .png file into the Cricut Design Space software and save as a cut file.
- Choose the file and add it to your project.
- Size it to about 5 1/2 inches wide.
- Add your metallic vinyl to a cutting mat and load it into the Cricut machine.
- Turn the material dial to custom and choose Metallic Vinyl .25 in the Cricut software.
- Press the go button and watch it cut the file.
- Weed the vinyl and add transfer tape to the front of the vinyl.
- Turn the vinyl over and use a scraper to help the vinyl stick to the transfer tape.
- Remove the white backing from the vinyl and make sure all the vinyl is sticking to the transfer tape.
- Place the vinyl in the lower right hand corner of the plaque.
- Scrape with the scraper to help the vinyl stick to the plaque then remove the transfer tape.
- “Paint” the Mod Podge all over the plaque including over the vinyl and carefully place the senior picture in the upper right hand corner of the plaque.
- Rub the picture to help it stick to the Mod Podge. Let dry for about 10 minutes and make sure there are no bubbles under the picture.
- Add another layer of Mod Podge all over the plaque and on the sides and edges, including right over the top of the picture. Let dry completely.
- Hammer in your decorative nail or screw in your hook for the tassel to the upper left hand corner of the plaque.
- Tie a knot in the tassel so it will hang the right length and hang it from the hook.
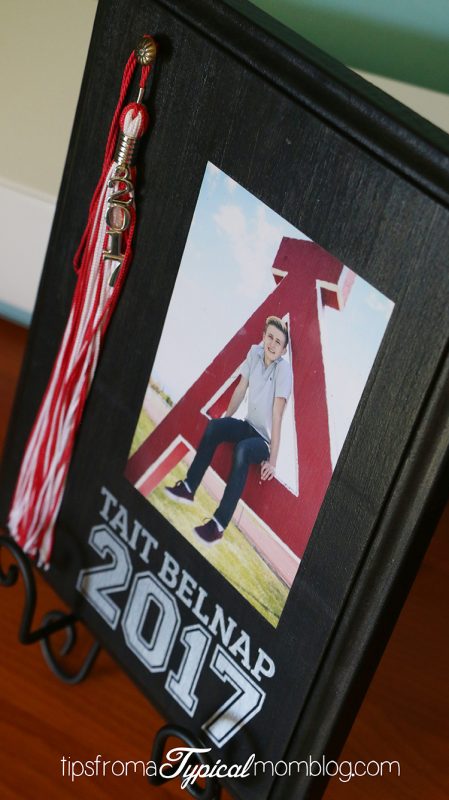
- Display with a small picture easel.
Want a visual tutorial? Watch me make this plaque in the video below.
This is a sponsored conversation written by me on behalf of Cricut. The opinions and text are all mine.


Leave a Reply