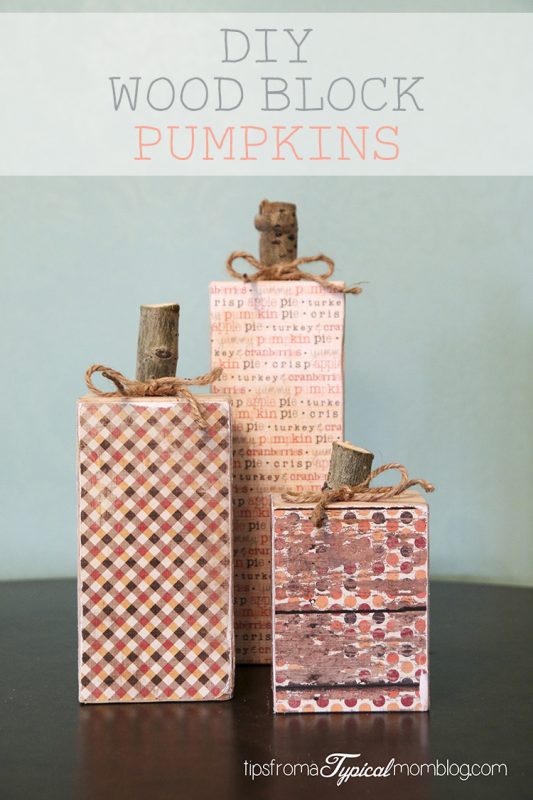
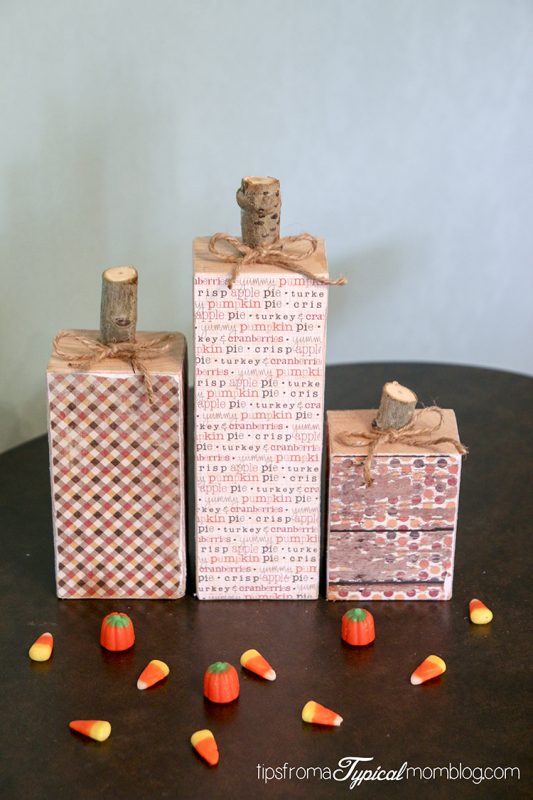
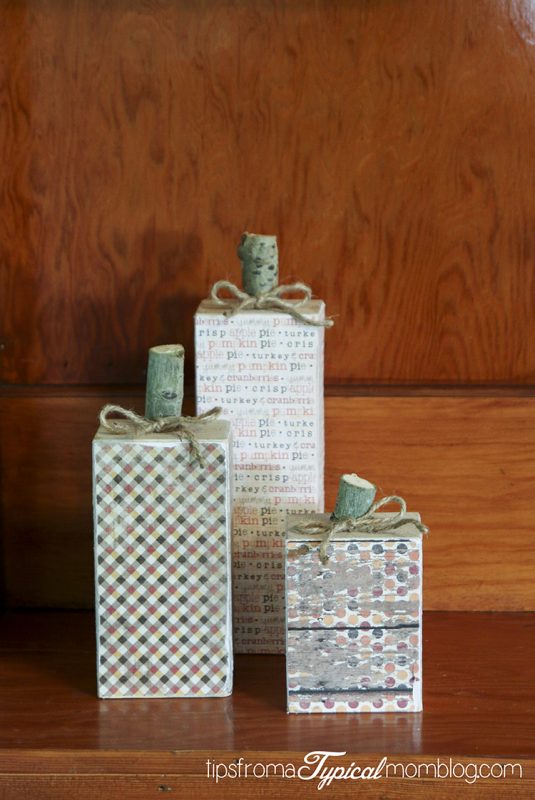
We inherited a bunch of scrap wood and of course I had to figure out how to use it up. These cute little DIY Wood Block Pumpkins were the first thing I made with the scrap wood. I’m showing everyone how to make them on Fox 13’s The Place today, and I wanted to make a step by step tutorial on my blog for those who need a little more detail.
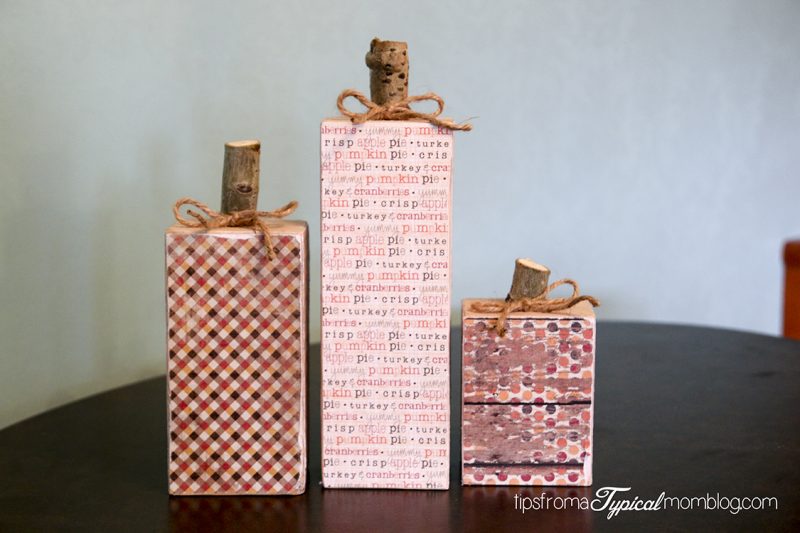
These are the easiest crafts to make. Sometimes with a lot of kids in the house you aren’t able to do as many crafts as you would like because the kids always want to “help”. I love crafts like these that use paper instead of paint. They keep my house nice and clean. And the kids can “help” with their own kid scissors and craft paper.
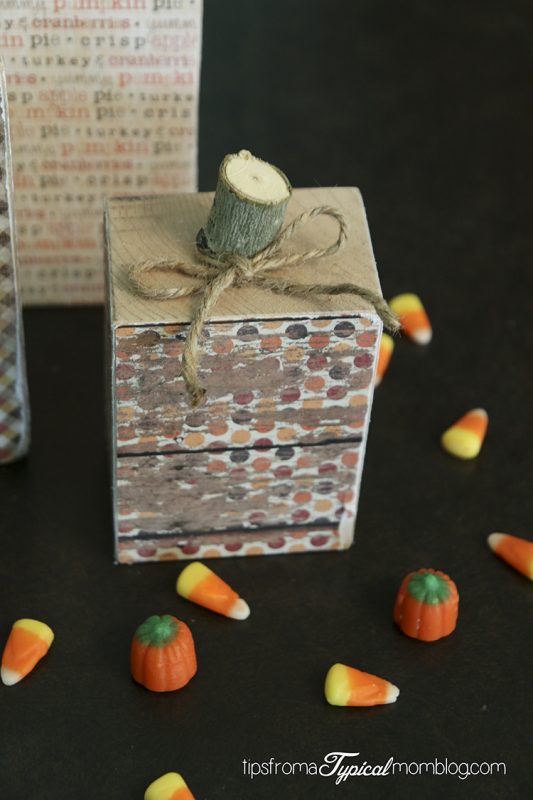
If you are having a girls craft night this weekend, this is the perfect project. Why not serve these delicious Apple Pie a la Mode Floats and teach your friends how to make Brain Cupcakes to take home for the kids? Mmmmmm!
So let’s get started with the craft!
DIY Wood Block Pumpkins
Supplies needed:
- 3 different size wood blocks that can stand on their own. Mine are 7″, 5″ and 3″ heights. You can use 2 x 4’s or any square wood.
- 3 pieces of 12 x 12″ craft paper. Each a different pattern
- Decupodge- I found the BEST stuff for this HERE or if you live in Utah County, you can grab some at the Quilted Bear in American Fork or contact my friend HERE. It’s called “Rethunk Gunk”.
- Sponge brush or large paint brush
- Pencil
- Scissors or Paper cutter
- Sand paper
- 3 pieces of jute, 12″ long each
- Pieces of tree branch cut to make the pumpkin stems
- Wood glue
- Super glue
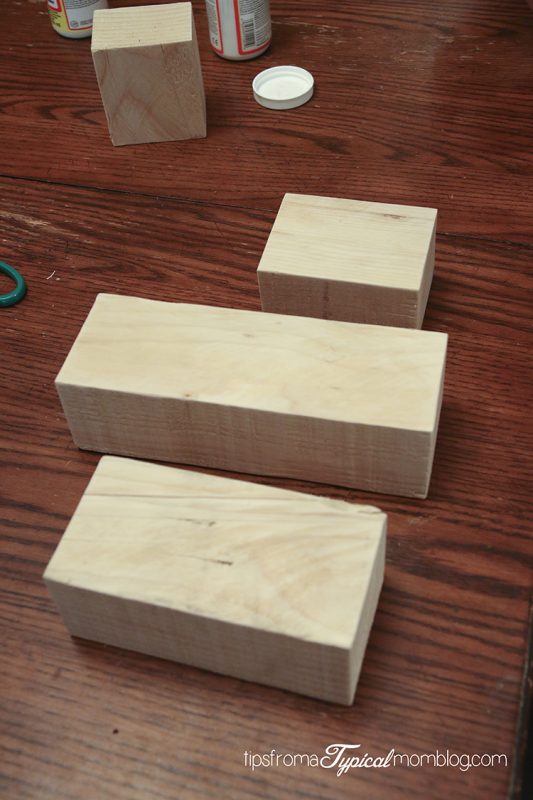
Start off by drawing lines around the blocks onto the back of the craft paper. Make sure to measure each side of the wood. I don’t cut paper for the top or bottom, but you can if you would like.
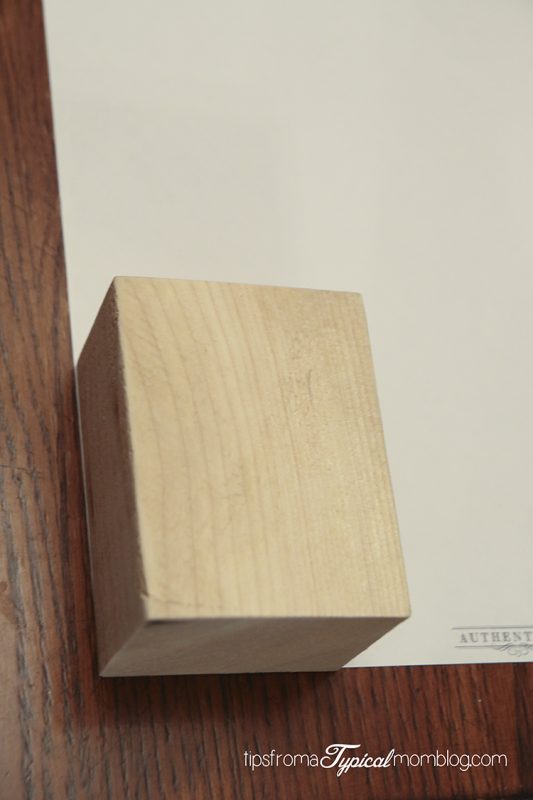
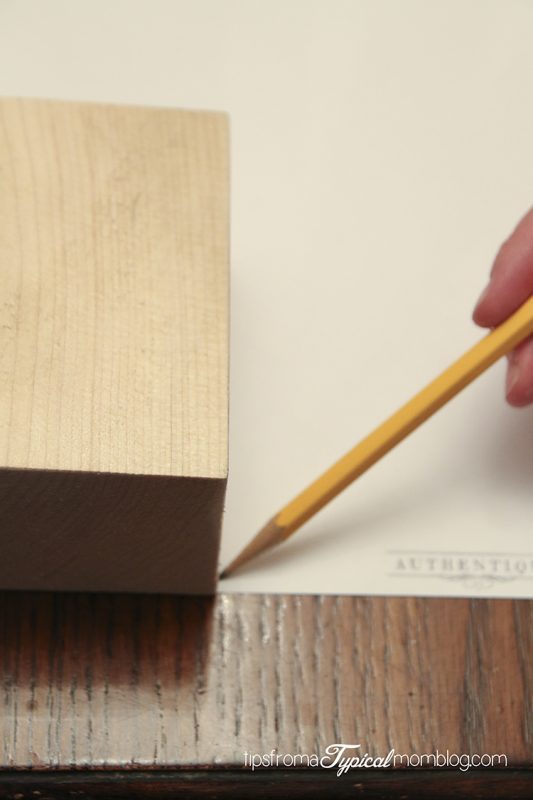
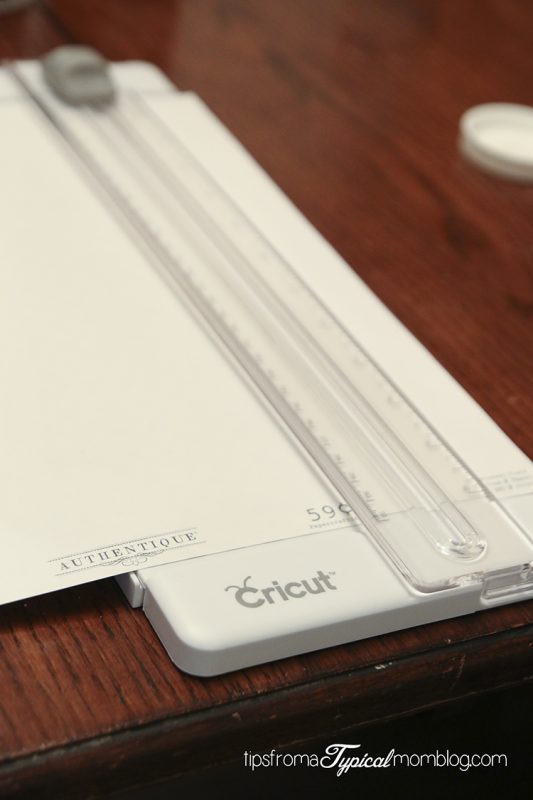
Cut the pieces out with scissors or if you want perfectly straight lines, use a paper cutter. I always cut the rectangles out just a tiny bit smaller than the outline.
Add a light layer of Rethunk Gunk with a sponge brush to one side of a block and press the paper onto it smoothing it with the edge of a ruler or plate scraper to get out all the bubbles. Repeat on the other 3 sides. If the paper keeps bubbling, lay it flat on a table and put a heavy book on it for about 15 minutes.
Sand the edges of the blocks to soften the edges of the paper.

If you would like a more finished look to the blocks, add a layer of Rethunk Gunk to the top of the paper. Add the stems with a dot of wood glue and a dot of super glue. The super glue helps the stems stick right away so then you can add the jute bows to the stems.

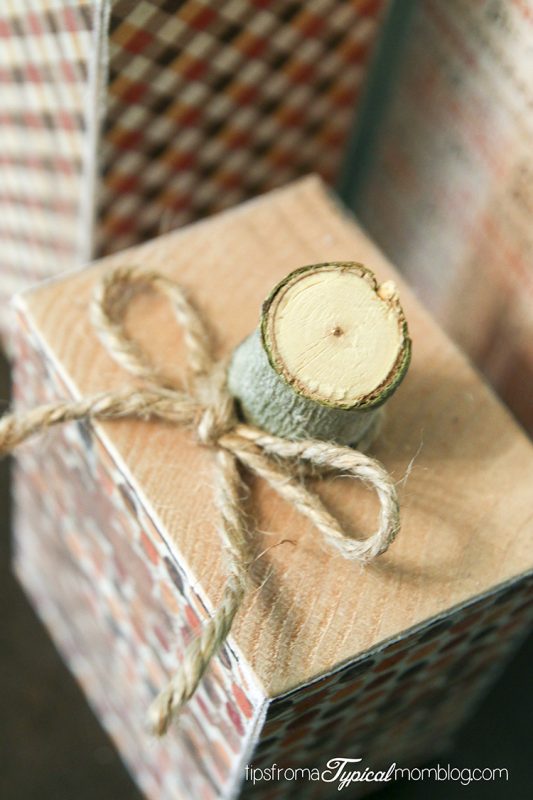
You’re done! So easy, quick and cute!
Enjoy your fun craft night and your yummy refreshments!

[…] DIY Wood Block Pumpkins […]