“This post is written on behalf of Collective Bias for Big Lots. All opinions are my own.”
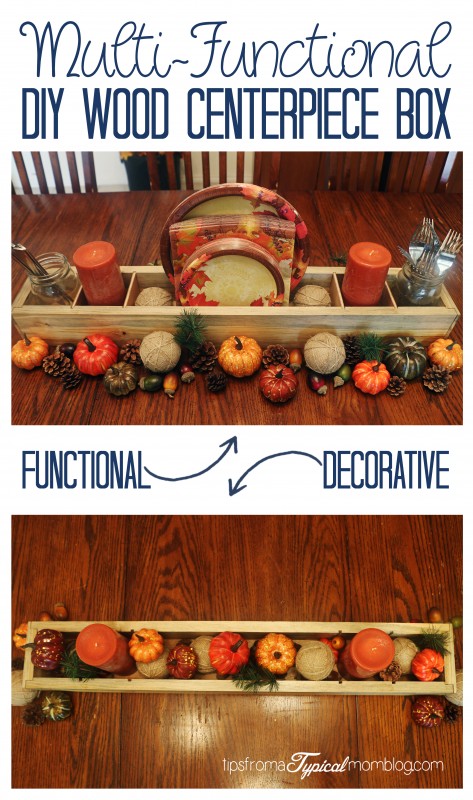
I have wanted a special centerpiece for years now and have not been able to find just the right one anywhere. So I asked my very talented husband if he could make one for me. I found these super cute Fall Centerpiece Bowl Fillers at Big Lots and I really wanted something special to put them in for my kitchen table.
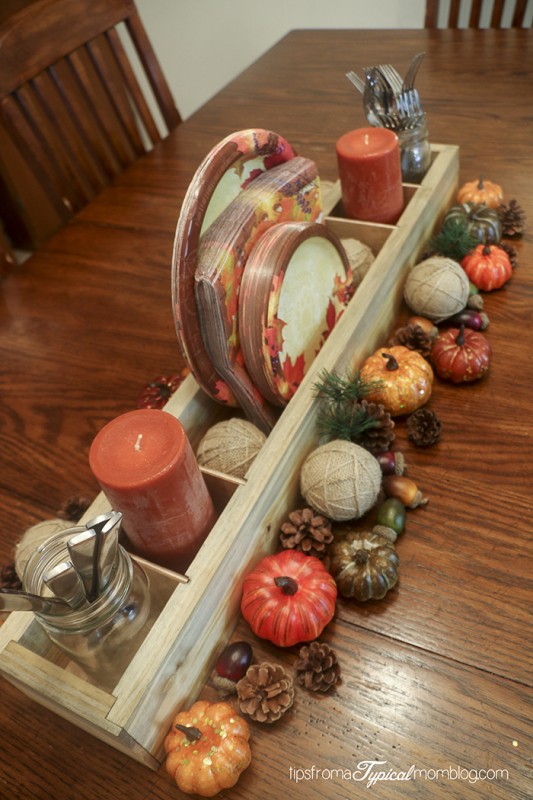
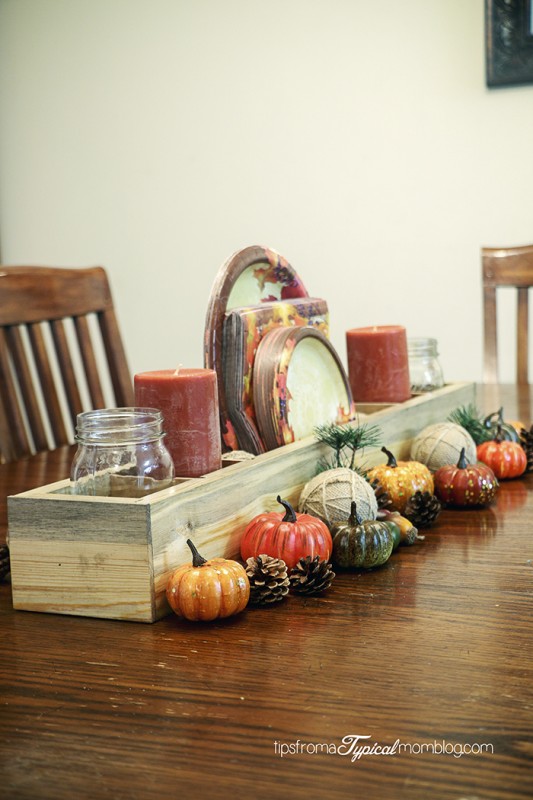
I really don’t like centerpieces that are really tall because I feel like I can’t see the people around the table. That’s why I love this centerpiece so much. It’s low to the table and I can see everyone. Not only that, it’s multi-functional. You can use it to hold utensils, paper plates and napkins. How perfect is that? Very useful for buffets and really good looking at the same time. I’m in love with this project and I have a feeling that you will want to make one for yourself, so I’m going to share with you how my husband made this great Wood DIY Multi-Functional Centerpiece Box.
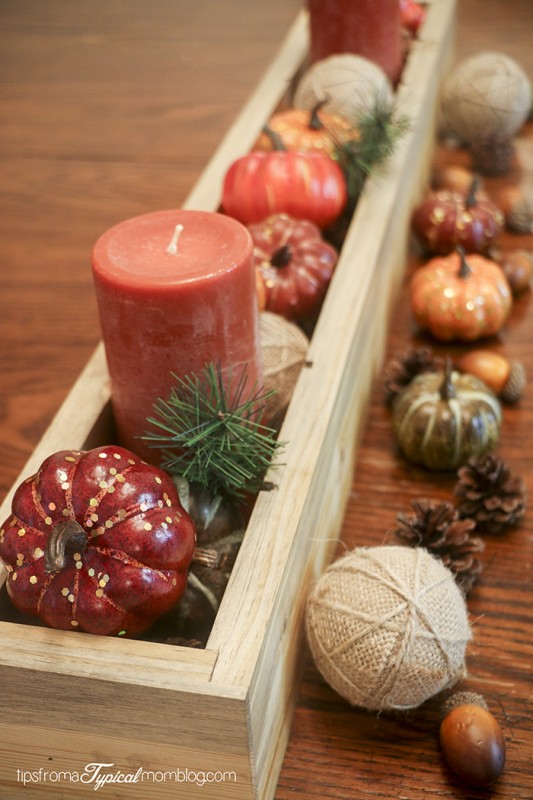
This Rustic Wooden Centerpiece Box is perfect for weddings, special events or home decor. And you can customize the length and color to work with what you need it for.
Now let me tell you, my husband is a perfectionist. I asked him to just use some boards and nail them together in a box with removable dividers. What he gave me was so much more than that. I would consider these instructions as intermediate.
First I headed to Big Lots with my husband and decided what I wanted to be put in the box. I chose the candles that I liked and the bowl fillers that I love. They are cute little pumpkins, acorns, pine cones and burlap ball ornaments. And the candles smell heavenly. They make my house smell like fall. These awesome decorations are on trend and the best value that I’ve found at any other store. I have a tight budget and Big Lots helps me decorate my home with quality products that are built to last. I always shop first at Big Lots.
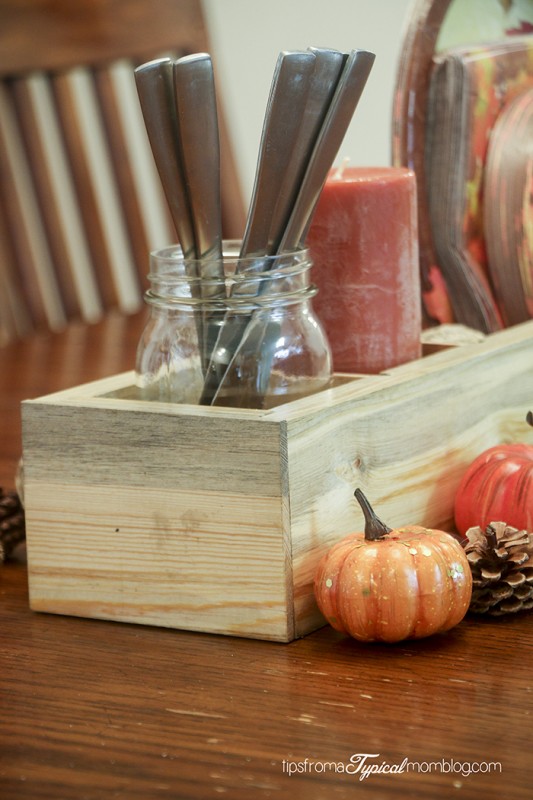
We headed home and grabbed a mason jar from the cupboard to make sure that the pint size jar fit in the box. I would use the mason jars to hold utensils and/or flowers depending on the party and time of year. This is how we came up with our measurements.
We used Blue Pine wood for this box because we wanted it to look unique. I wanted the wood to show through so I only added a glaze at the end. I love the grey streaks through the wood.
Here’s what you need for this Wood Centerpiece box:
- 1 piece 1 in. x 4 in. x 8 ft. Blue Pine Wood
- Wood Glue
- 1 piece 1/8 in Finish plywood 2 feet by 4 feet
- 4 #10 Wood Joiner Biscuits
- Clamps
- Table Saw
- Miter Saw
- Router (optional)
- Biscuit Joiner
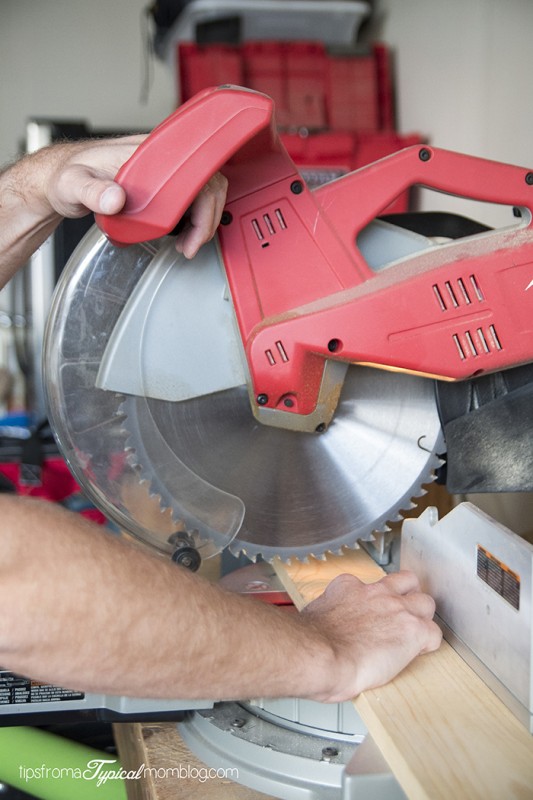
Let’s start by cutting the 1×4 blue pine board.
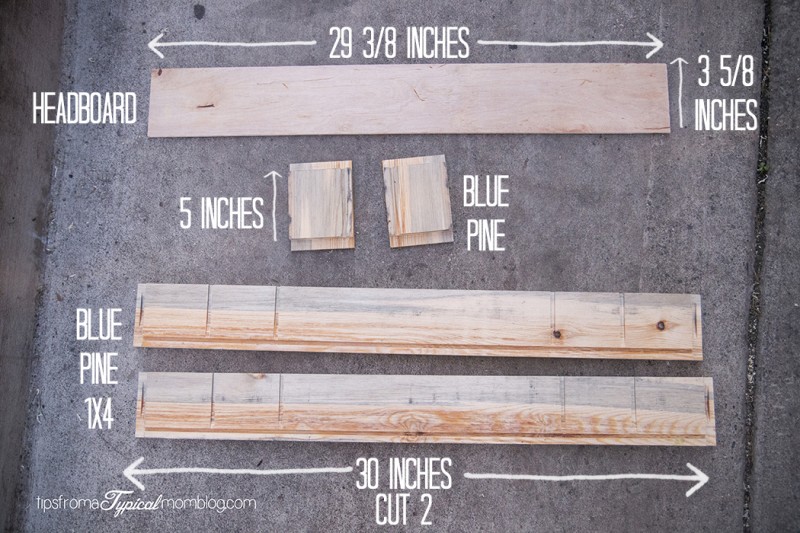
- Cut 2 ends: 5 inches
- Cut 2 sides: 30 inches
Now cut the Headboard. The headboard is used for the base of the box and the divider inserts. (aka Finish plywood)
- Cut 1 base piece: 29 3/8 in. x 3 5/8
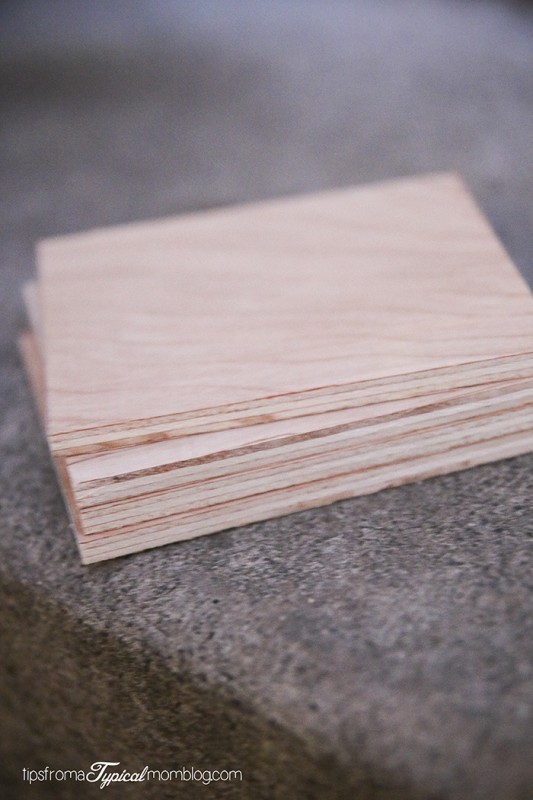
- Cut 4 insert pieces: 3 1/2 in. x 2 3/4 in.
Insert pieces or dividers:
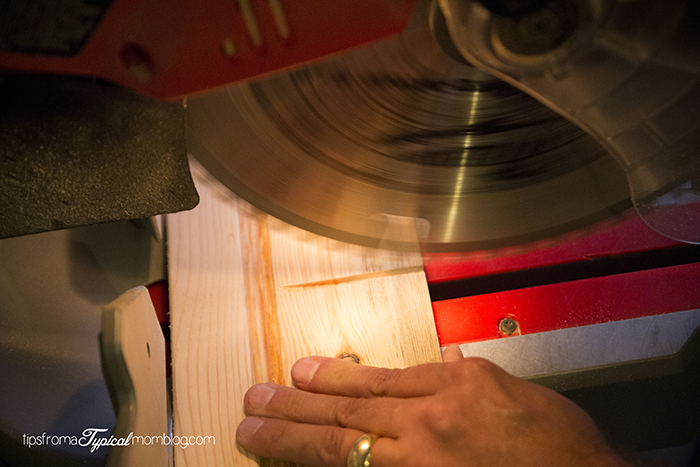
Now we are going to cut the grooves for the dividers. We measured 3 inches in from the sides then another 3 inches. Repeat on the other side for a total of 4 slits. He cut the slit 1/8 inch deep and two blade widths wide about 1/4 in. Make sure you set you depth guide so you don’t cut the slits all the way through. Practice on a scrap piece of wood till you have you depth just right. If you are using a radial arm saw you will need a spacer behind the board you are cutting so you wont cut through the grove for the head board.
Alternately you can use a router to make these cuts. Just use an 1/8th inch bit.
Now we are going to cut the slots for the base of the box or headboard to slide into. This is where we will use the table saw. Set the table saw blade an 1/8 in high and place the fence a 1/2 in away from the blade.
Cut this same grove on all 4 pieces of wood. 1/8 in deep and 1/4 in wide.
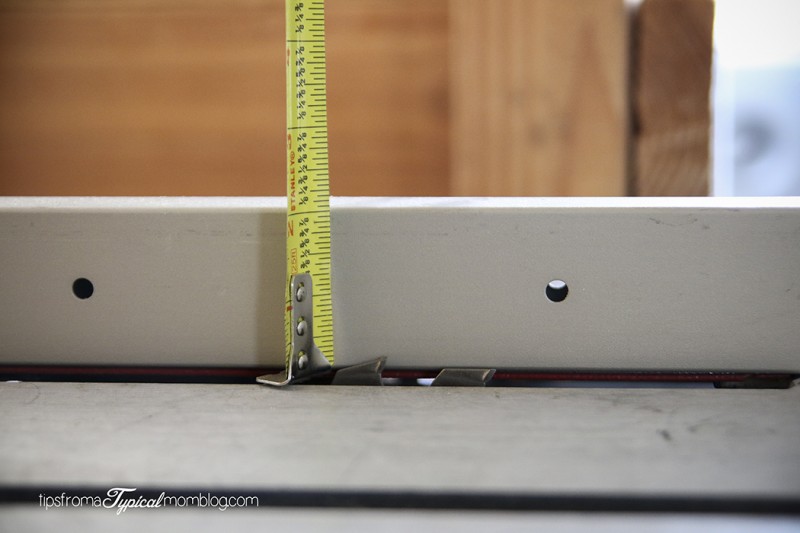
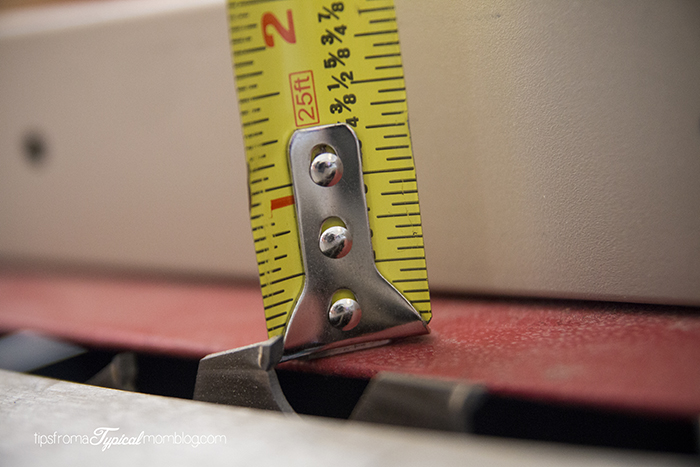
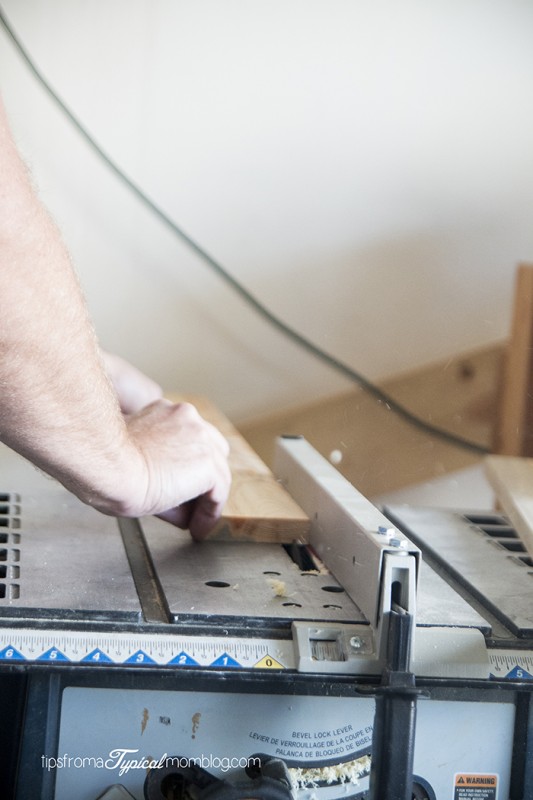

Now we are going to cut notches out of the ends of the side and end panels so they can be join with the biscuits.
- Using a router cut a 1/2 inch deep x 1/2 inch wide notch on each end of the 30 inch pieces on the same side as all you other cuts.
- Then on the end of each end piece cut 1/8 inch deep x 1/2 inch wide notch. Also on the inside.
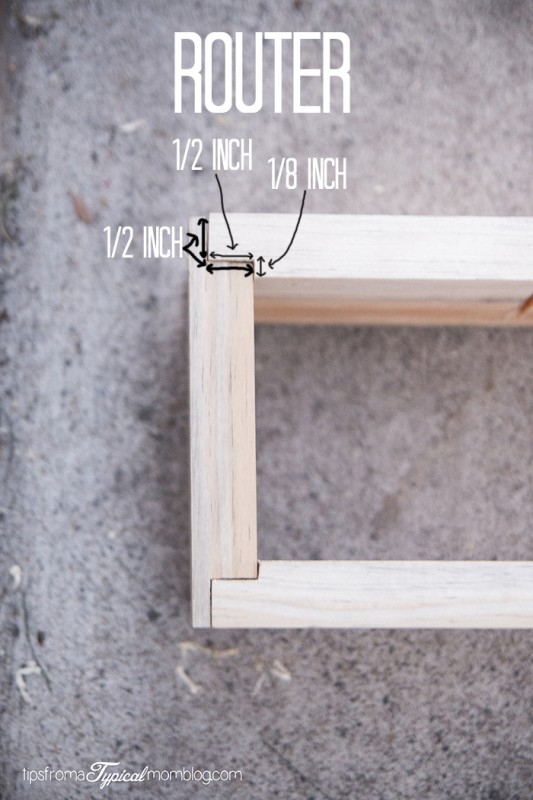
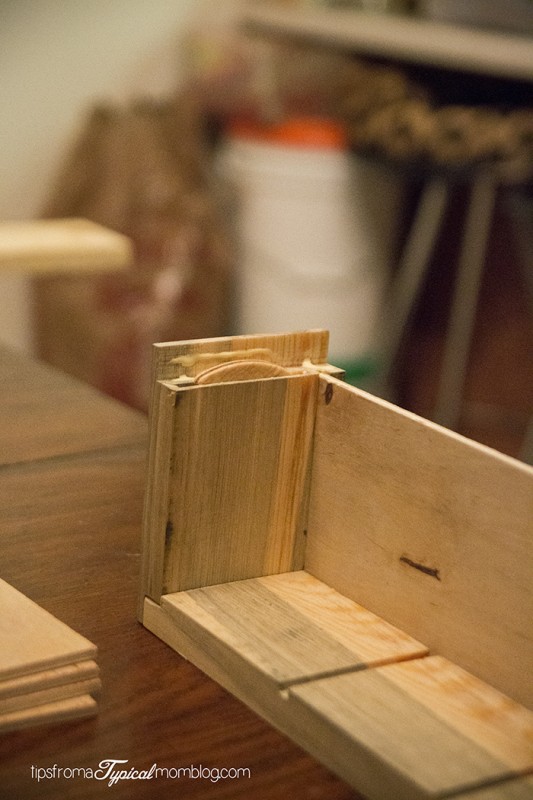
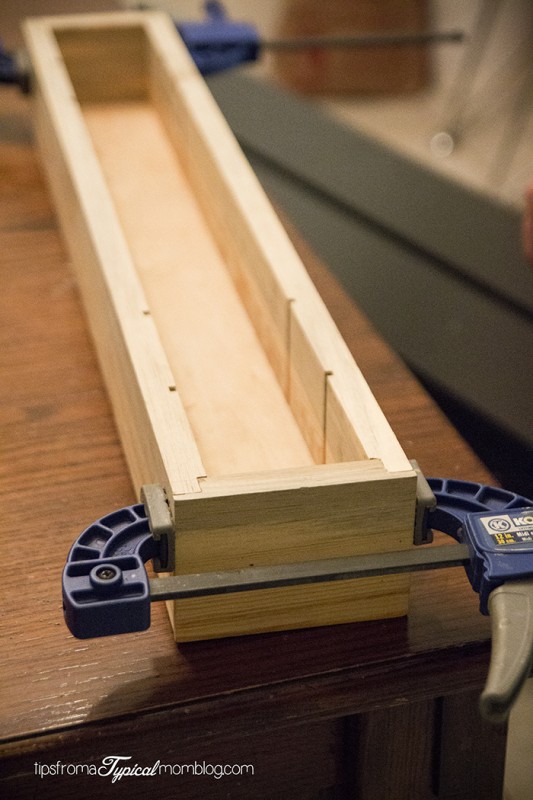
Using the biscuit joiner cut slits in the ends like pictured below:
This is the end of the 30 inch piece.
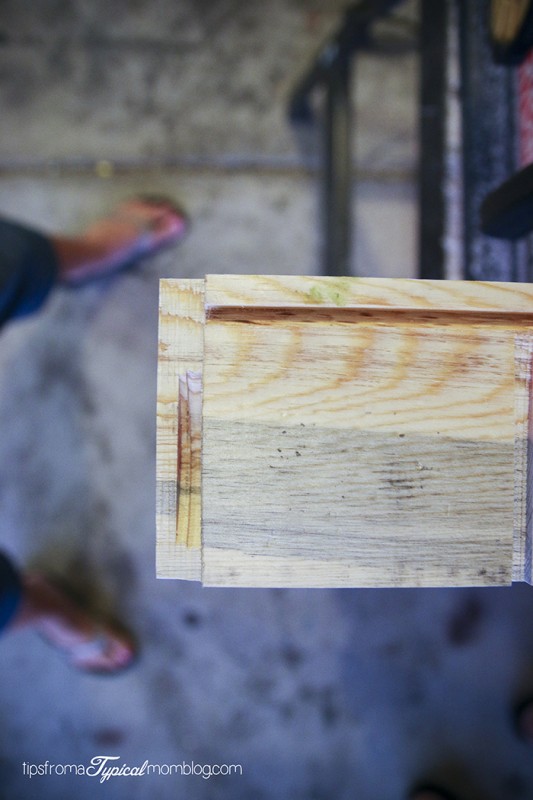
This is the end of the 5 inch pieces.
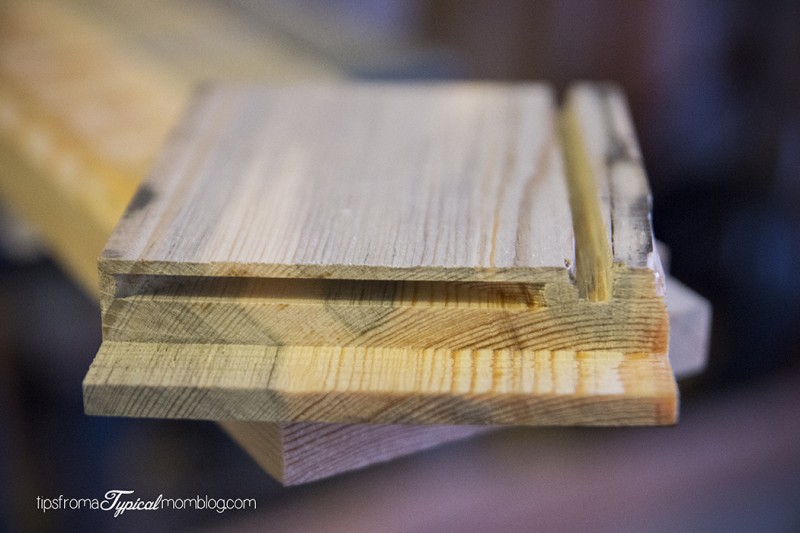
Then he used a chisel to cut out the bottom of the grooves.
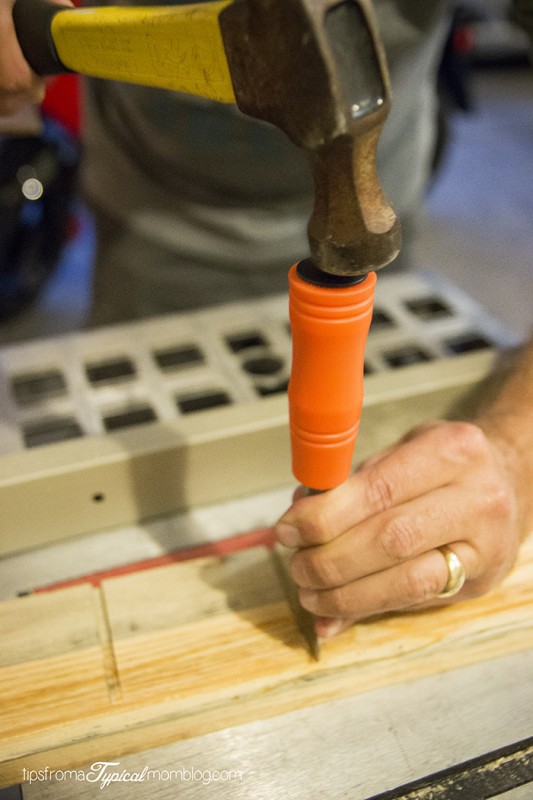
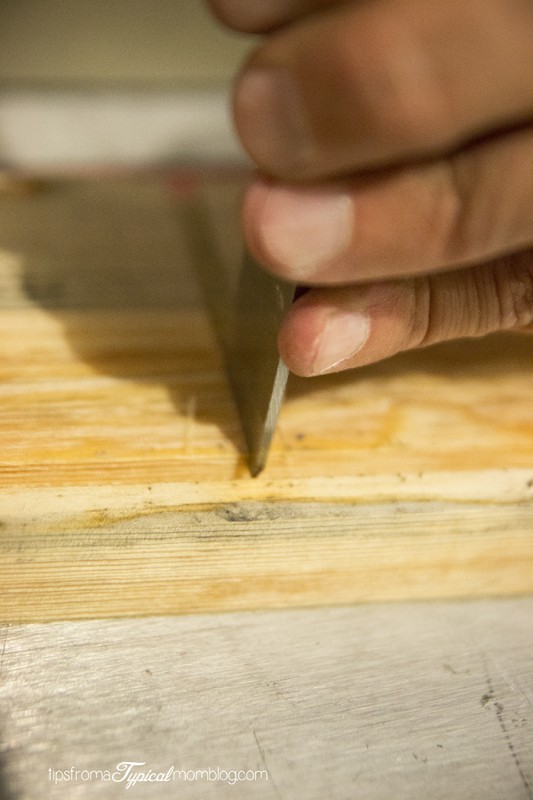
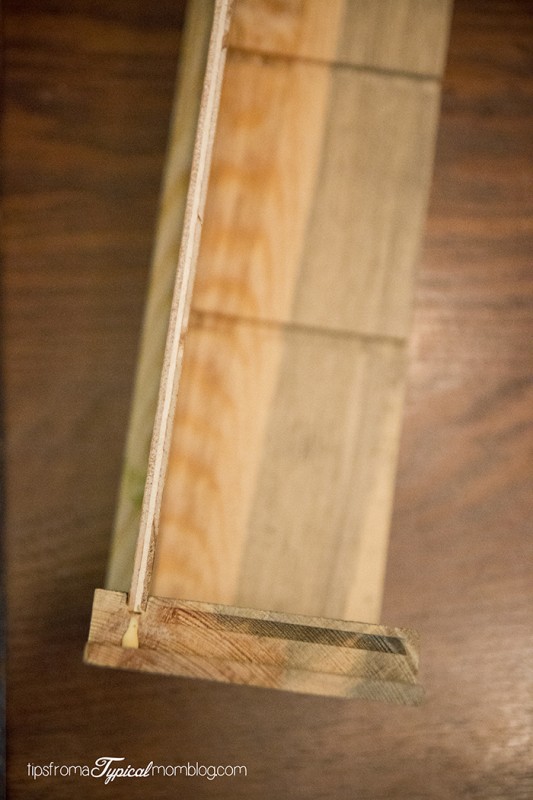
Now it’s time to glue it all together. Use Premium wood glue and start with an end piece and the base headboard.

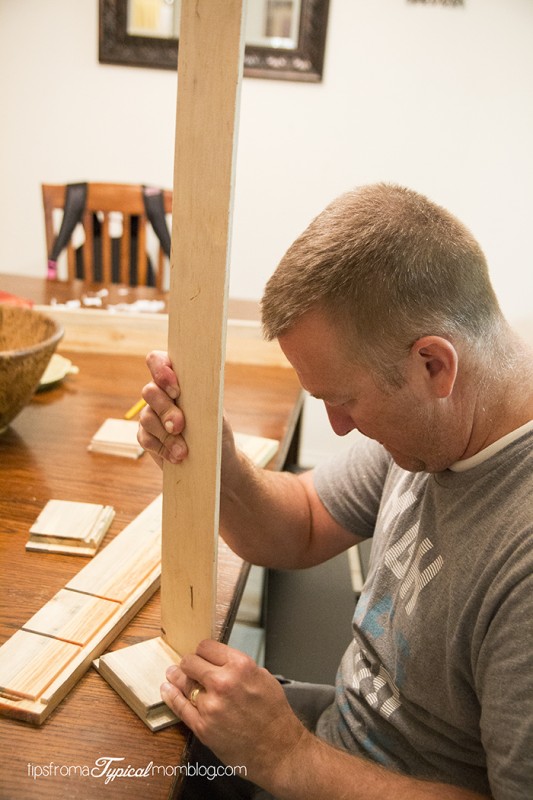
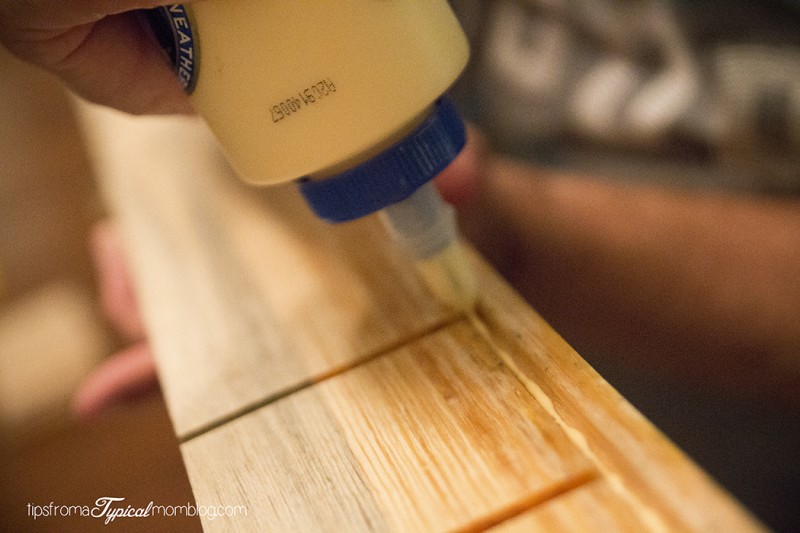
Add glue to the biscuit hole and to the side of the board.
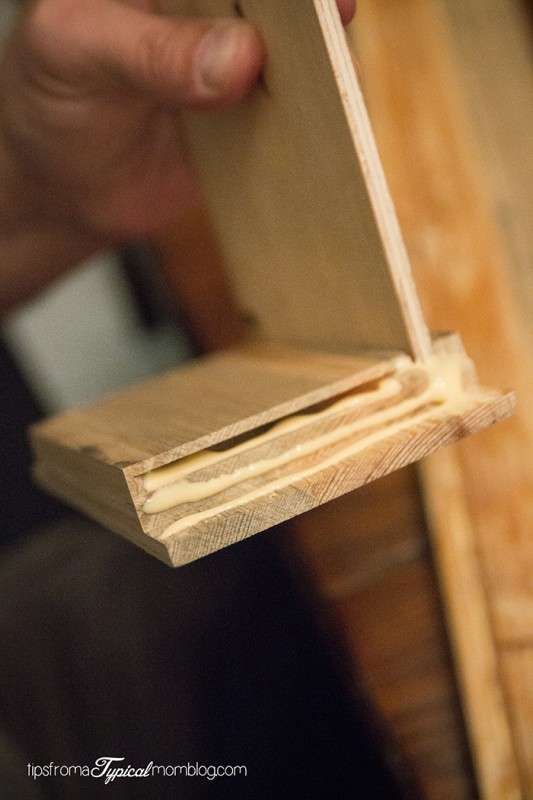
Then down the slot of one of the 30 inch pieces.
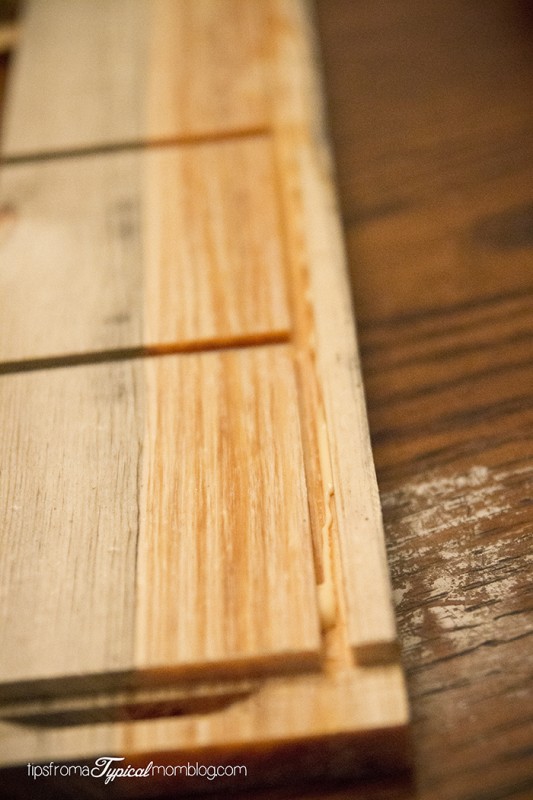
Place biscuit in the biscuit hole then add the side piece to the box. Note biscuits should be soked in water for about 10 min. This will make them fit tighter and your joints will be stronger.
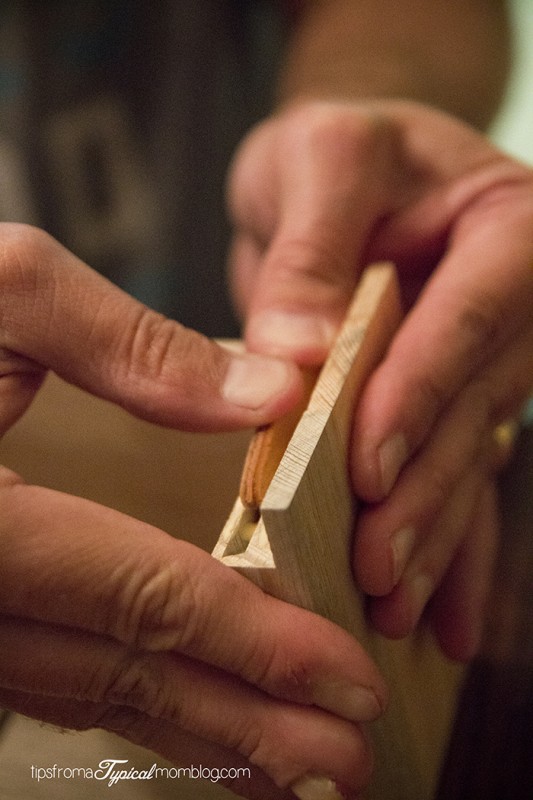
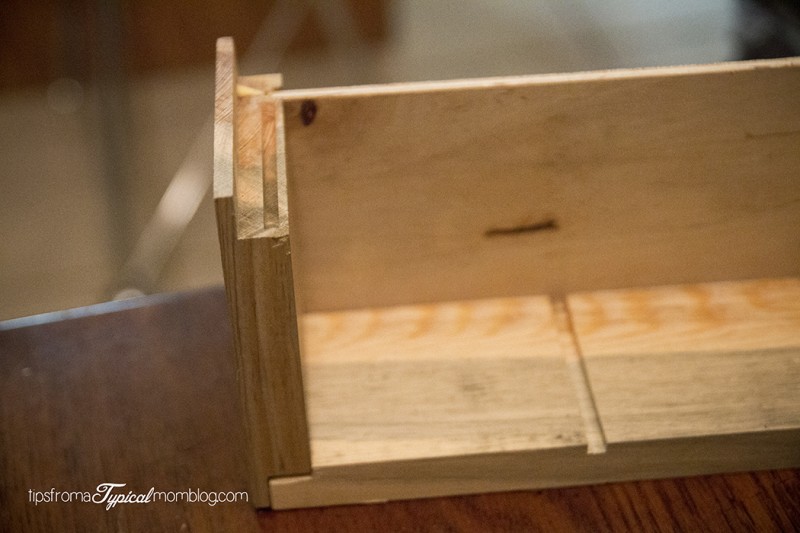
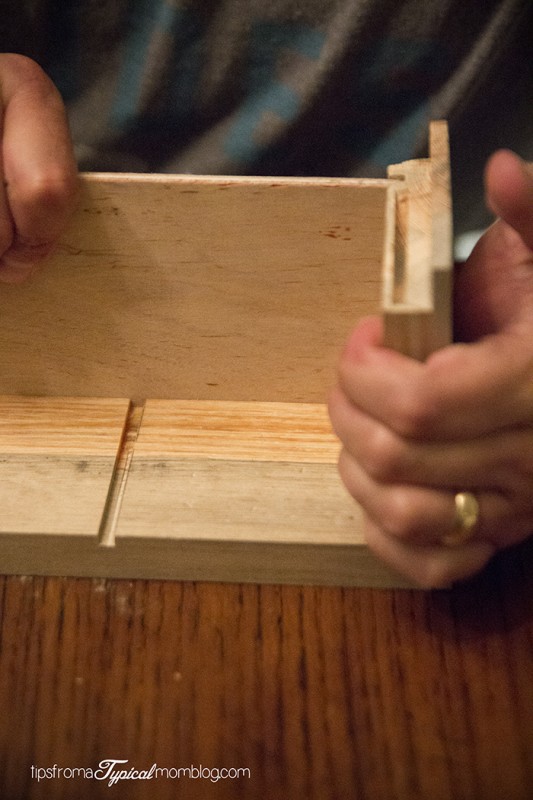
Now add glue to the other end piece add biscuit and repeat the above steps.
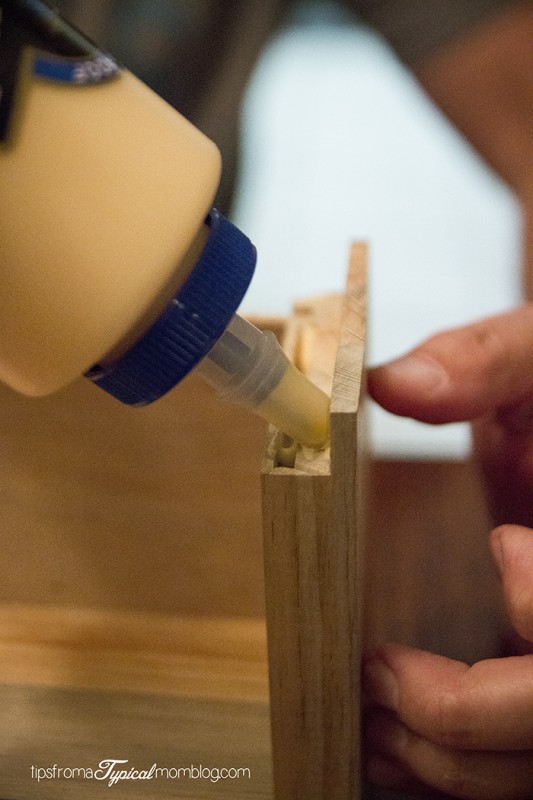
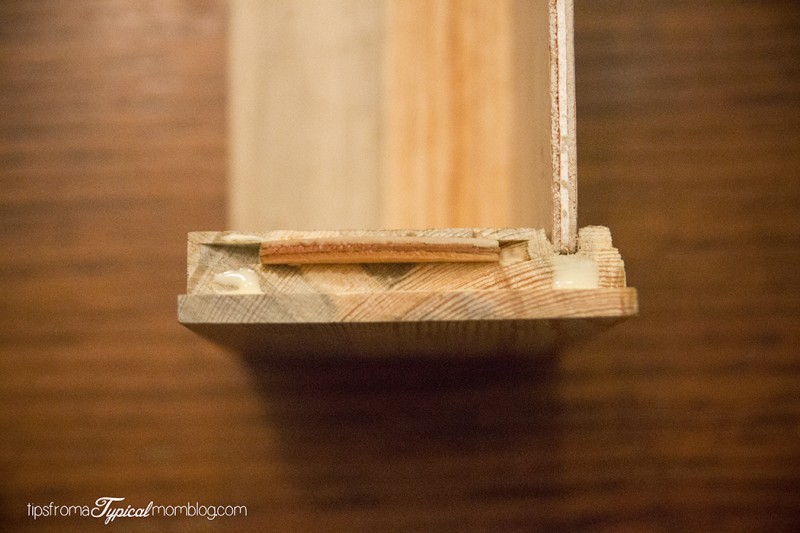
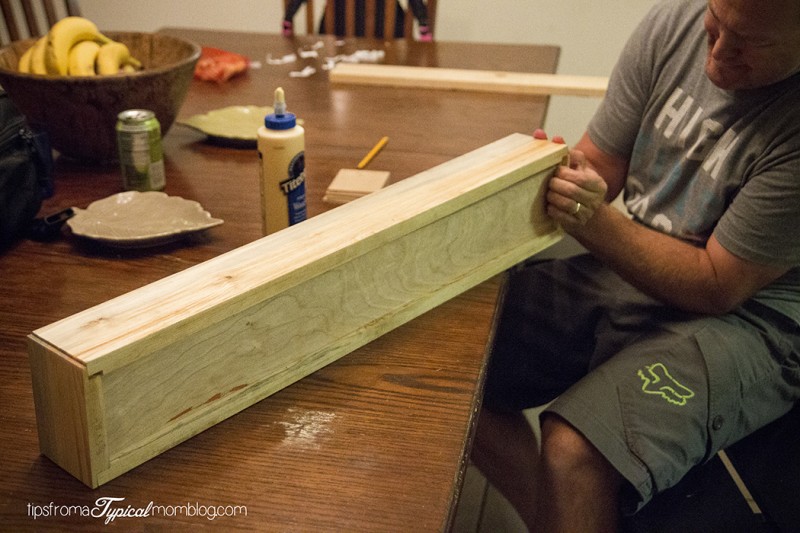
Once you have it all glued together, clamp it and let it sit overnight. Wipe off excess glue with a wet paper towel before you let it dry. If you don’t the stain wont stick to the wood where you have excess glue.
Now paint or stain your box and the inserts and let dry completely. I used an antique glaze that let the color of the wood show through.
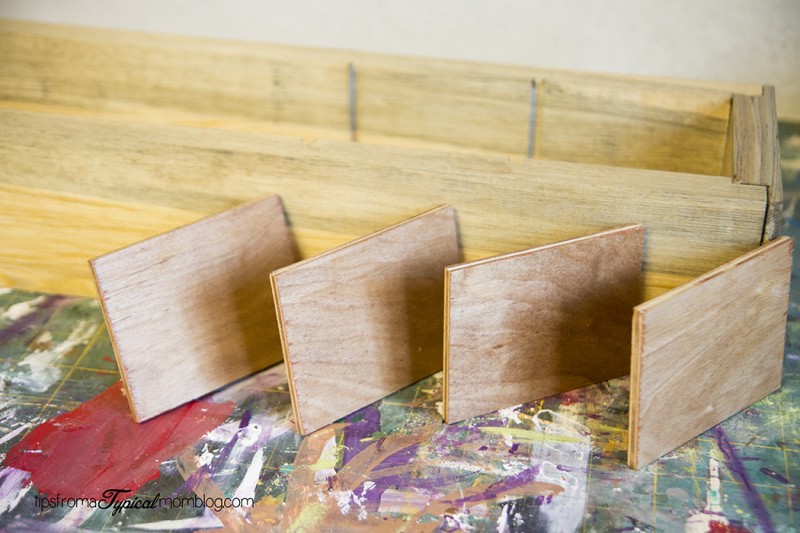
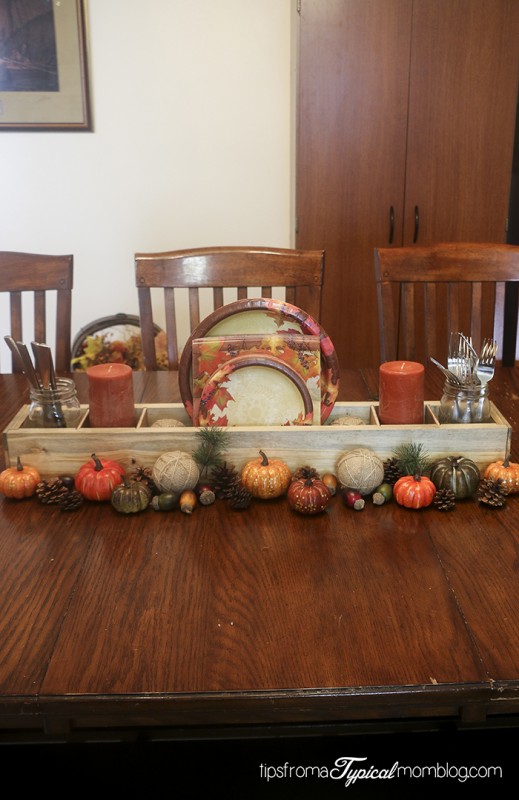
Now add the dividers and use mason jars for serving utensils and put the paper plates and napkins in the middle for serving. I put the cute bowl fillers around the outside of the box when I’m using is as a serving box.

Or remove the dividers and fill with the bowl fillers from Big Lots.

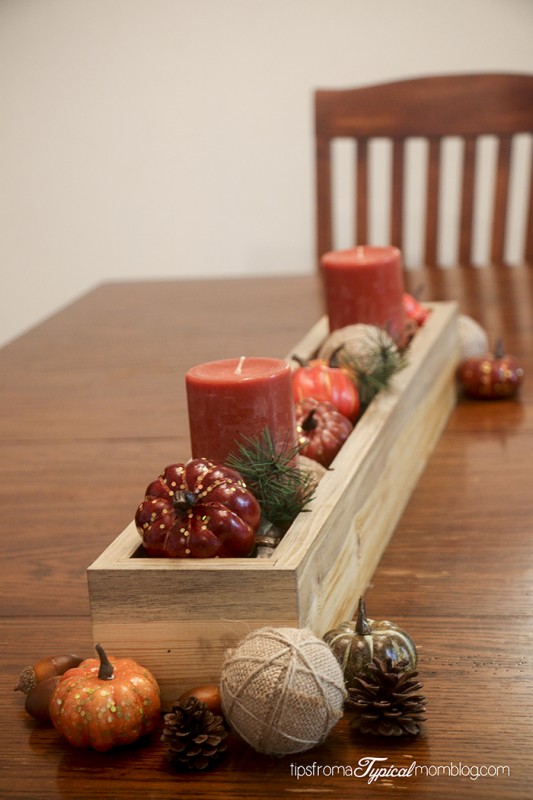
Enjoy your Wood Centerpiece Mulit-Purpose Box!
Check out Big Lots website and follow Big Lots on social media:
- Twitter: http://cbi.as/rgl6
- Pinterest: http://cbi.as/rgl7
- Instagram: http://cbi.as/rgld


Ooh this is awesome! I love it. I have wanted to make something like this for my mantle!!
I really want to make something like this now! I need to get my craftiness in gear again!
I love this! What an awesome idea. My husband just made me a TV stand to hide our DVD player and boxes, looks like he has a new job on the list now!
Thanks Shasta~