“This is a compensated shop on behalf of HSN and We R Memory Keepers and #HSNPartyPack. All opinions are mine alone. This post contains affiliate links. Please read my disclosure policy for more information.”
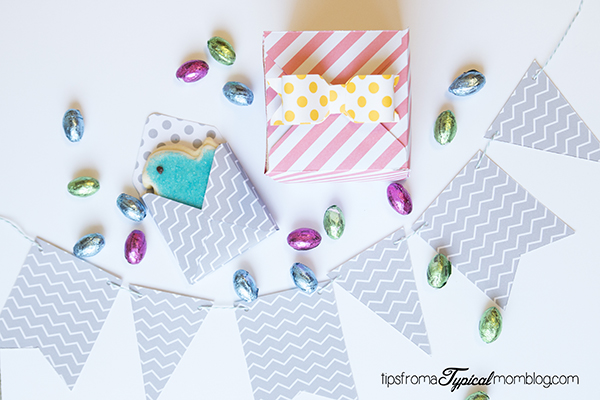
Today I’m so excited to share with you a tutorial on how to make Boxes out of paper along with paper bows, envelopes and cards using the Punch Board Party Collection being featured on HSN March 24th.
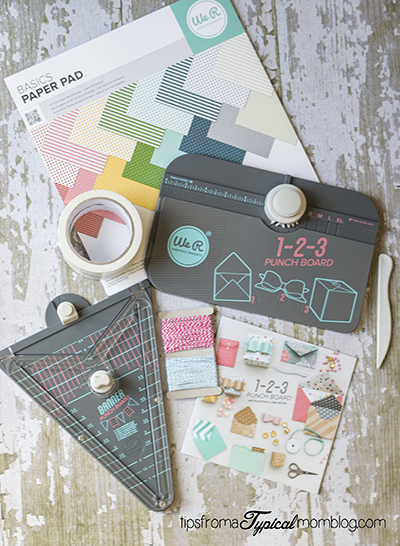
I was so excited to receive this package in the mail. My kids were worried about me because I was jumping up and down when I saw what was in the package. The Punch Board Party Collection comes with the following awesomeness . . .
- 1-2-3 Punch Board
- 1-2-3 Banner Bunch Board
- 12×12 Paper Pad
- Packaging Tape
- Bakers Twine
- Idea Book
Limited quantities of the party pack are available so you better rush if you like what you see and get yours now! The 1-2-3 Punch Board and Banner Bunch Board are currently ONLY available on HSN on Tuesday March 24th as part of the party pack for a fraction of regular retail pricing.
With the 1-2-3 Punch Board and Banner Board you can whip up handmade party decor and gifts in minutes. These punch boards are so easy to use because the measurements and instructions are printed right there on the boards themselves.
Today I’m showing you how to make an Easter Treat Box, paper bow, envelope and Spring Banner.
Let’s start with the Paper Favor Box. This would be the perfect way to deliver treats to friends and neighbors for Holidays and what a cute party favor instead of the boring old bags.
Trim your paper to the correct size according to the measurements inside the 1-2-3 Punch Board.
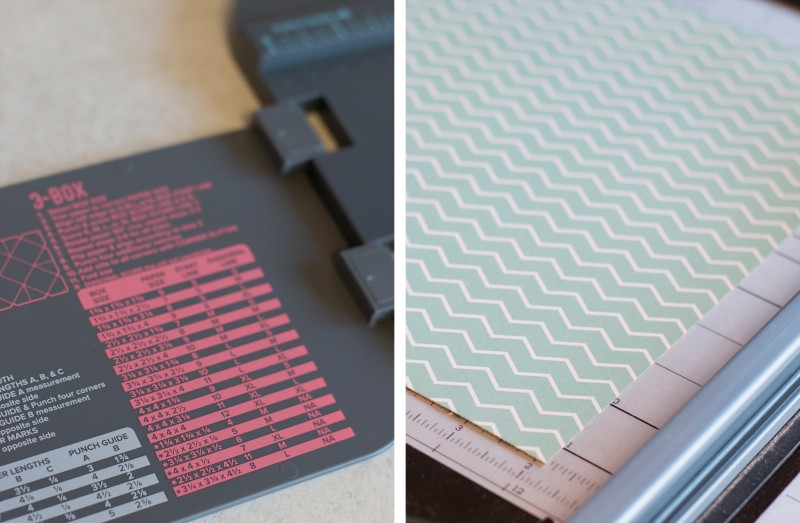
Score and punch the paper according to the directions on the board. You will measure, punch, score (with included bone tool), turn 90 degrees counterclockwise, then repeat 4 times.
Then you will add the hook and rounded corner punch to each corner.
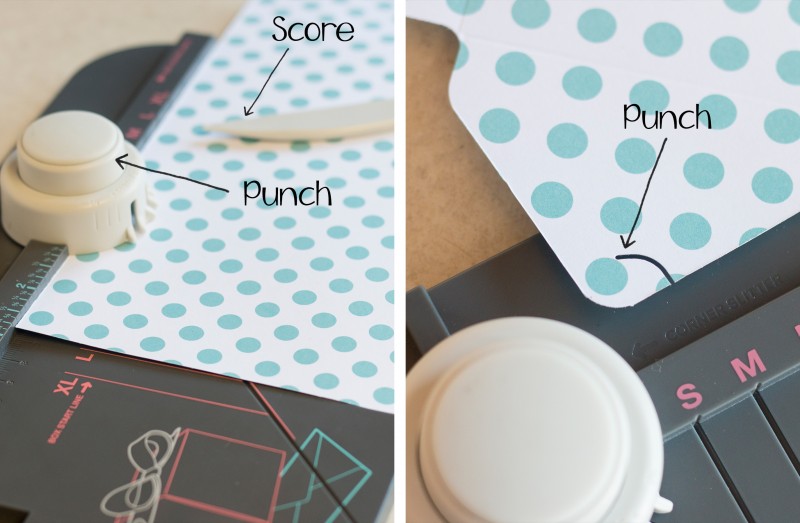
Using the included bone tool, you will crease the paper on the score lines.
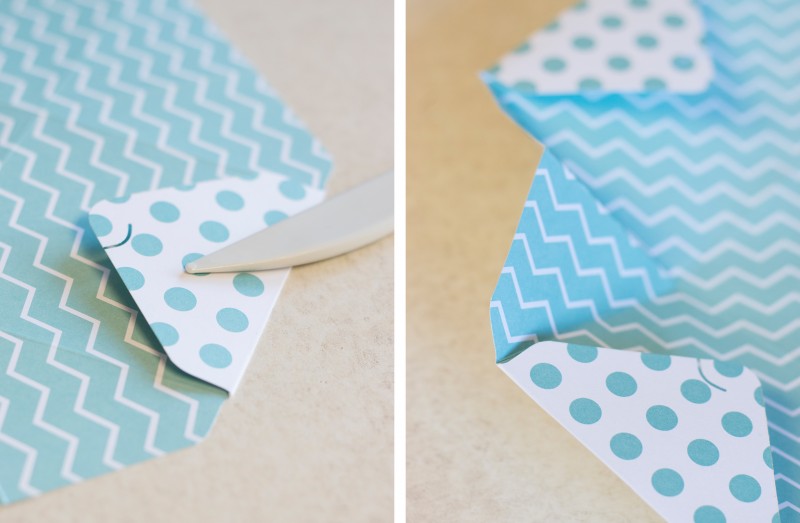
Now you can hook the hooks from each side together to form your box and use a Permanent Adhesive tape runner to hold the folds onto the sides of the box.
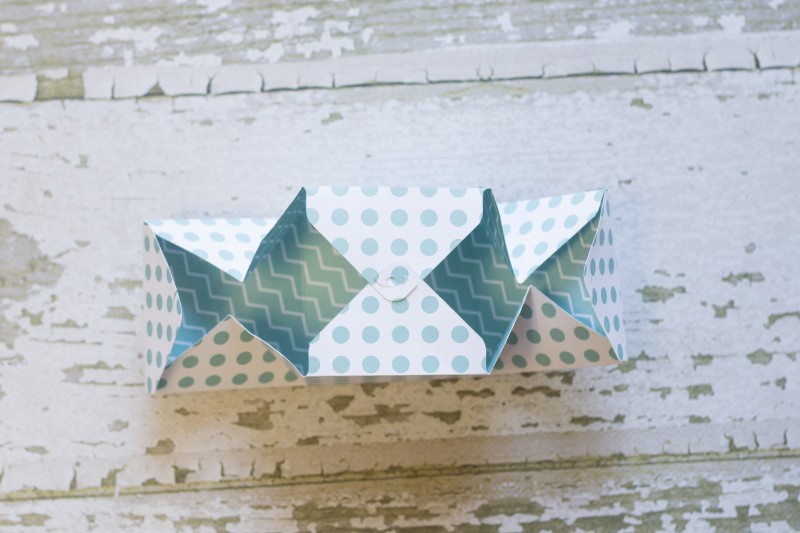
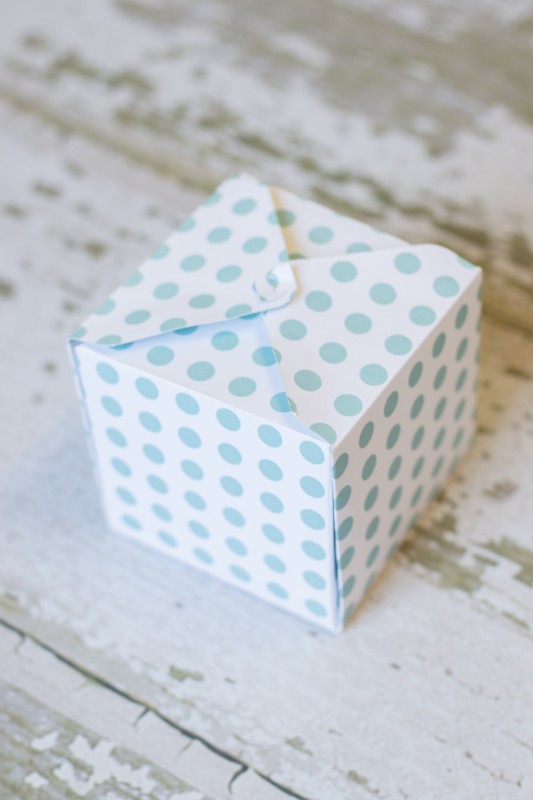
Now fill it with treats and you’re done. Unless you want a super cute paper bow to put on top! (Do you love those Easter Peeps Sugar Cookies? Get the recipe HERE.)
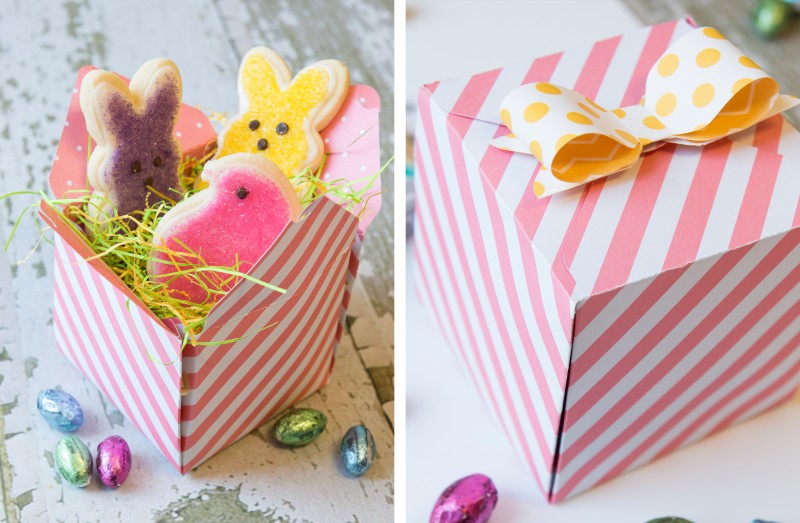
Let’s make a paper bow for the top of our box. These are so simple and quick, and they use the same 1-2-3 Punch Board.
First you have to decide what size you need your bow to be. Lucky for you, the measurements are included right on the 1-2-3 Punch Board.
You will need to cut 3 strips. One for the bow, one for the ribbon behind the bow and one small one to wrap around the center of the bow. All three measurements are listed.
Now using the listed guidelines, punch the middle of the bow on both sides.
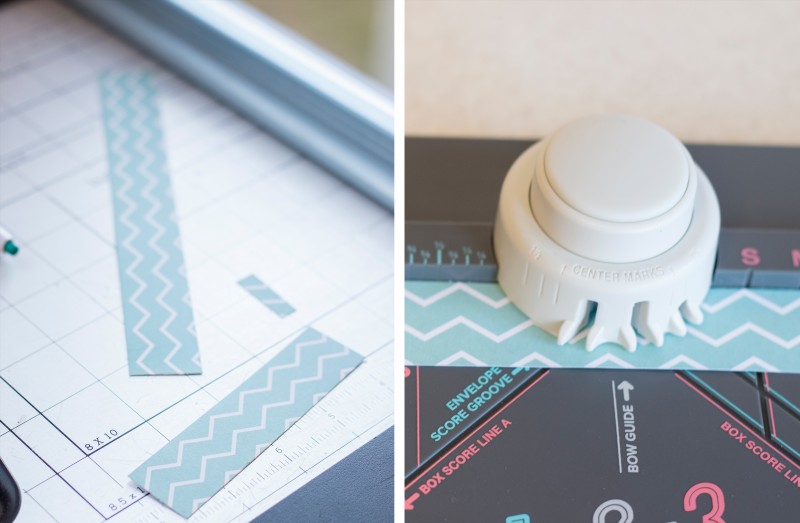
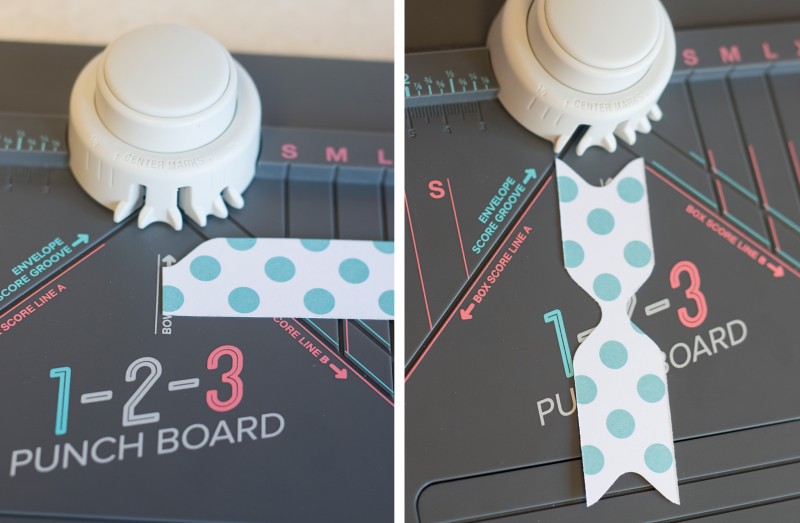
Then you will use the Bow Punch line to punch the corners of the paper.
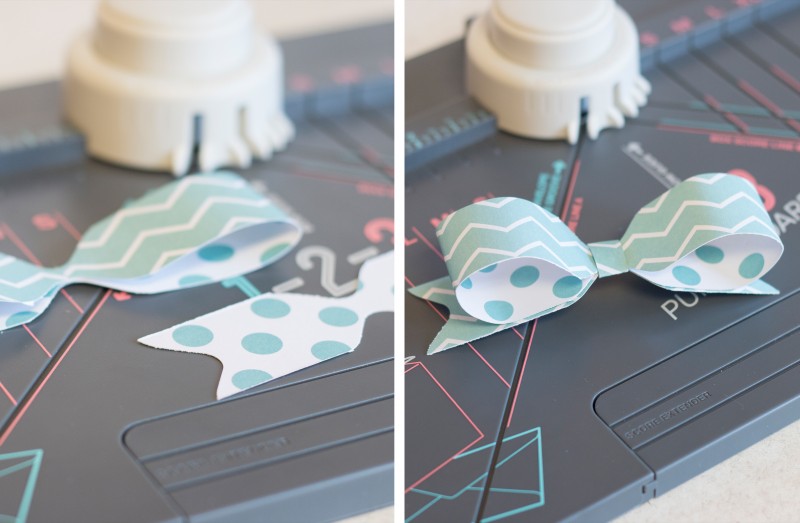
Next, using the middle sized paper, you will do the same as the large paper for the middle punch, but for the ends, you will insert the end of the paper into the punch to make the wave on the ends of the paper.
Now fold the large paper to the center and secure with a Tape Runner , tape the “ribbon” to the bottom and wrap the small paper around all, securing on the bottom of the bow with the Tape Runner.
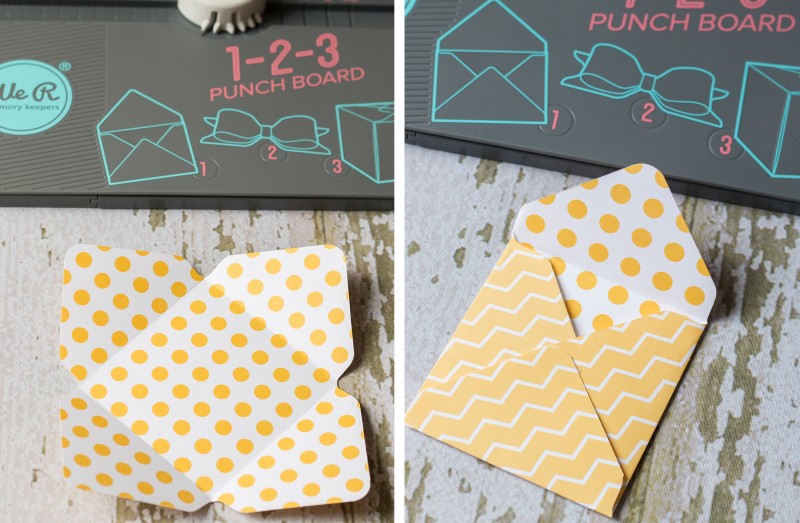
Now what gift would be complete without a card? Let’s make a cute matching envelope for the card. I think I’ll use yellow.
Again, cut the paper to the desired size, and you got it, use the measurements included on the 1-2-3 Punch Board to figure that out. Follow the directions on how to punch and score the paper. Punch the corners to round them.
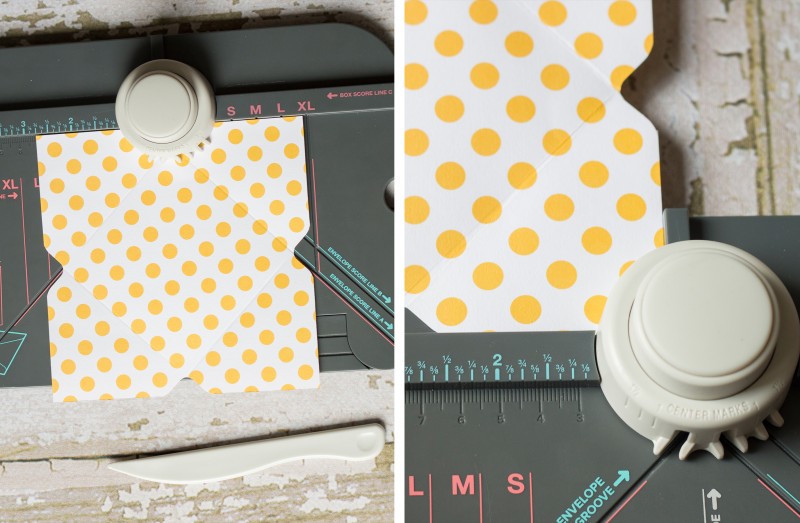
Use the bone scorer tool to crease the score lines. Use the Tape Runner Permanent Adhesive to attach three of the sides.
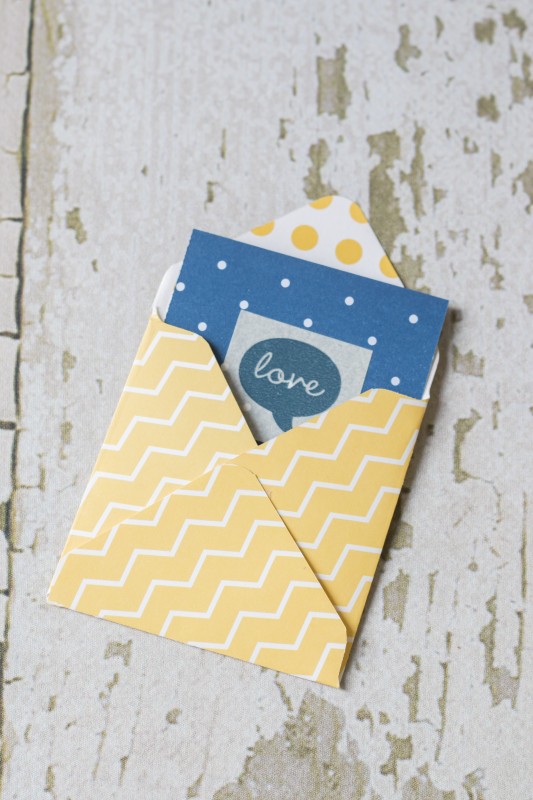
Now add your love note and you have a complete package.
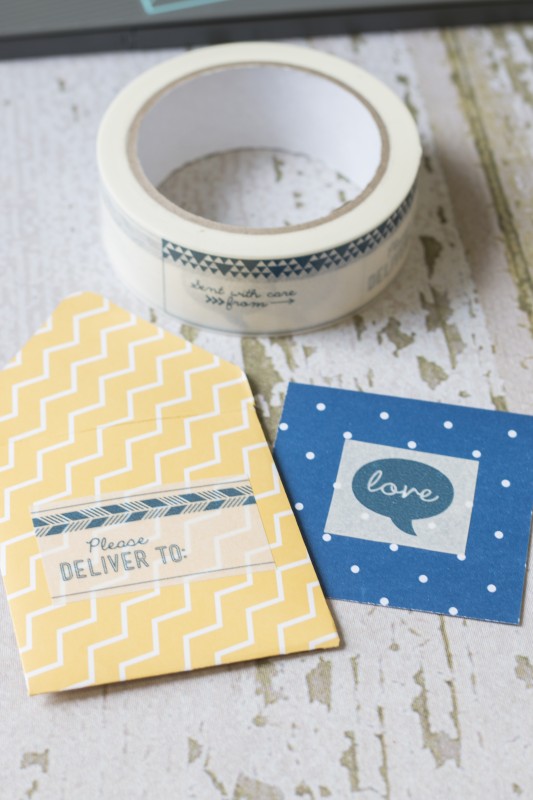
I love this packing tape that came in the with this pack. It’s so cute!
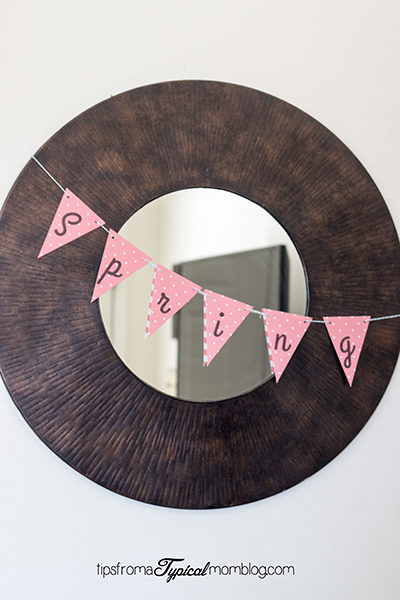
Now I wanted to make a cute banner to go along with my Easter stuff. So I made this cute Spring banner and you can make one too! I’ve included the printable and it’s so easy to make. Click here to download the spring letters printable. Right Click on the image and choose “save image as”.
First trim your paper to the size of a normal piece of paper. 8.5×11.
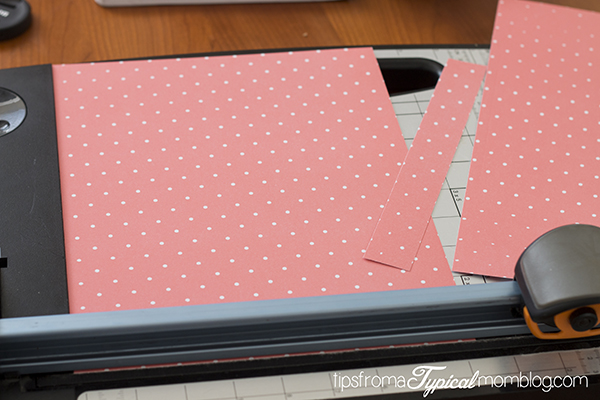
Feed the paper through your printer to print the letters.
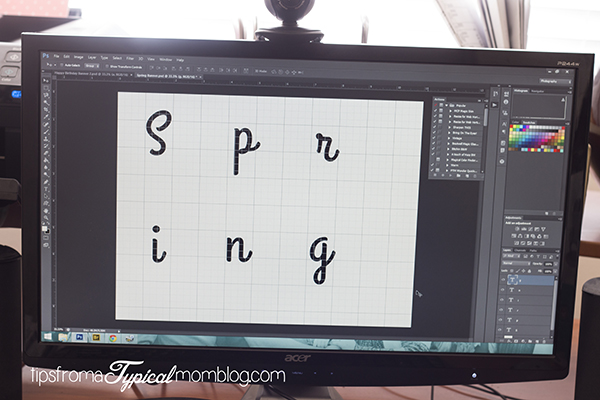
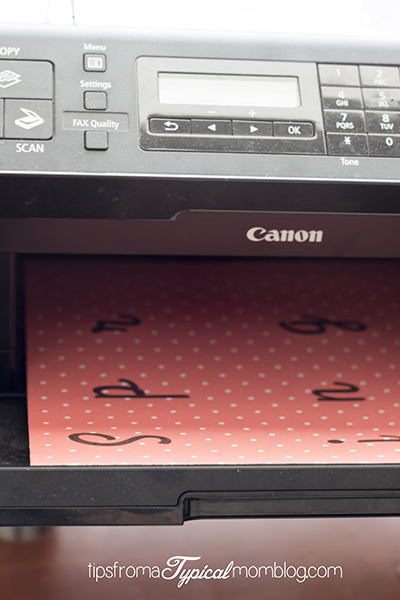
Now cut the paper around the letters to 3 inches wide to 4 inches tall.
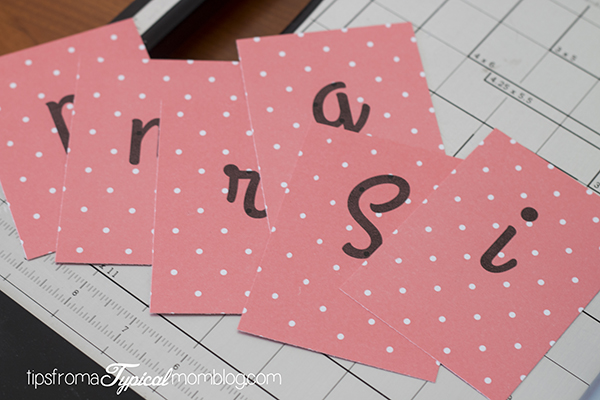
Insert the paper into the Banner Punch Board. Align with the 4″ measurement and center.
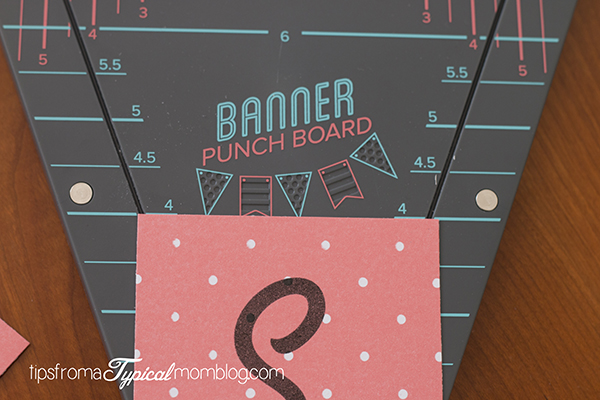
Close the cutting guide and cut the paper into a triangle shape.
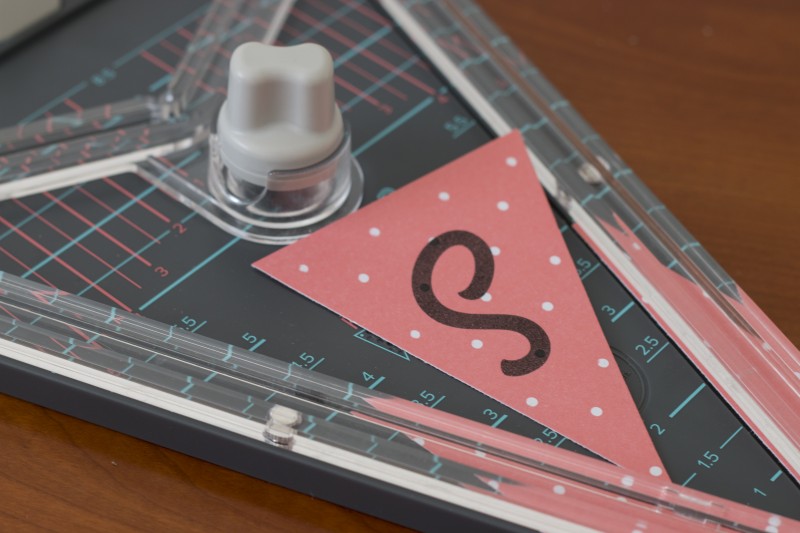
Use the punch at the top of the board to punch a small hole in the top corners where the twine will be inserted.
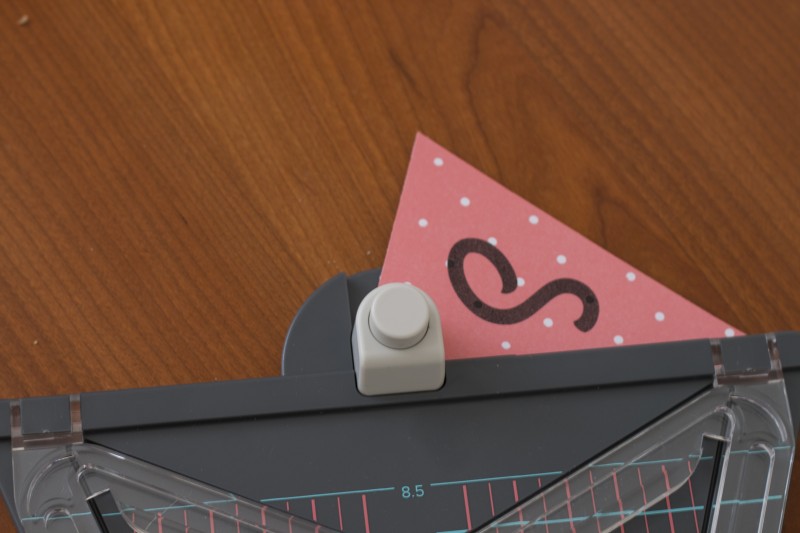
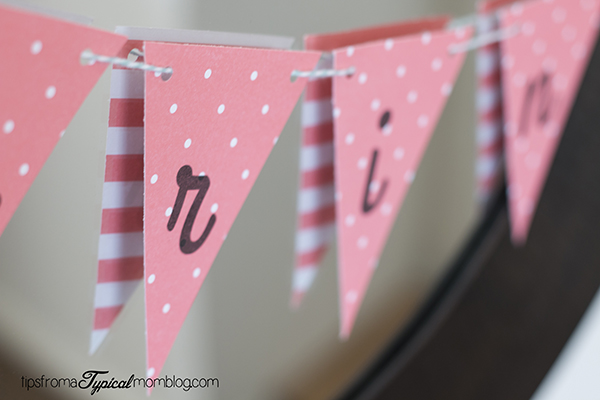
Thread the bakers twine through the holes to complete your banner.
For more paper crafting inspiration and to find out more about the 1-2-3 Punch Board and Banner Punch Board follow We R Memory Keepers and HSN on social media.


Very pretty!!!!!!
These are adorable! I totally need to get me one of these!
This is awesome! I love the kit that you have. It makes everything look so perfect. I love the patterns and ideas you have. Very cute!
These are so cute. I love spring crafts 🙂
Ooooh! I love the box! You make it look so easy!
This looks like a fun craft, and the end result is so cute! Wonderful ideas for Easter!
I love this! I think my kids would love it too. I love anything paper related 🙂