“This post contains affiliate links. Read my disclosure policy for more information.”
I have an awesome Mother in Law. She loves to come over to my house and do activities with my kids. One of our favorite things to do with Nana is make candies. Today I’m sharing with you some of her knowledge. She taught us how to make chocolate covered heart marshmallows from scratch WITH OUT a mold. Cool huh?
If she heard me call her an “in law” she would be mad. She doesn’t like those words. She believes as soon as you’re married you are part of the family forever. I admire her so much. She raised 12 kids. My husband is the oldest of the brood, and she raised him to be the perfect husband for me. She knows how to do everything. I’m not kidding. She sews beautiful costumes to pay for her kids to take dance lessons. That’s how I met my husband. I was his little brothers and sisters dance teacher. All her hard work paid off when her second youngest, Tanisha Belnap, went on to be in the top 8 on So You Think You Can Dance. We had fun cheering for her!
Anywhoooo! As I said before my “Mom” really knows her stuff. She likes to live a natural life and has great home remedies for any ailment. She is a wealth of knowledge and we love having her around to teach us stuff, especially since the Zombie Apocalypse will be coming soon, right!? 
Now on to the making of the Chocolate Covered Marshmallow Hearts. I love chocolate covered marshmallows. I try to buy a version of them for every holiday for my kids so I can steal them and eat them 
*Disclamer: These are not perfect. Which makes me love them even more. My kids had so much fun helping us make them
Chocolate Covered Heart Marshmallows
Makes about 18 Large Hearts.
- 2 tablespoons gelatin
- 1/4 cup cold water
- 1 teaspoon vanilla
- 3/4 cup hot water or maraschino cherry juice if you want it cherry flavored and pink.
- 2 cups sugar
- 1/4 cup corn syrup (Karo)
- 1/8 teaspoon salt
- about 4 pounds of dipping chocolate
- 10 pound bag of flour (reusable, this flour will only be used to make a mold)
- Candy thermometer
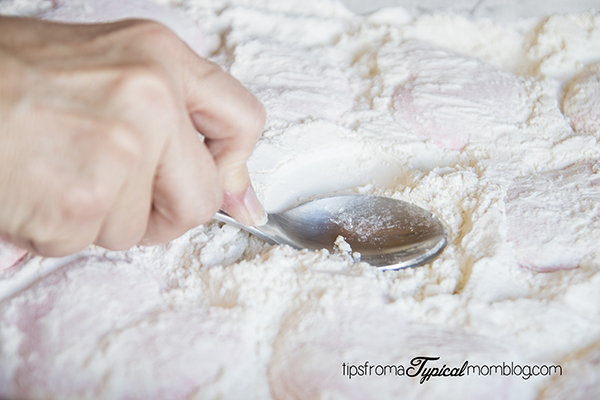
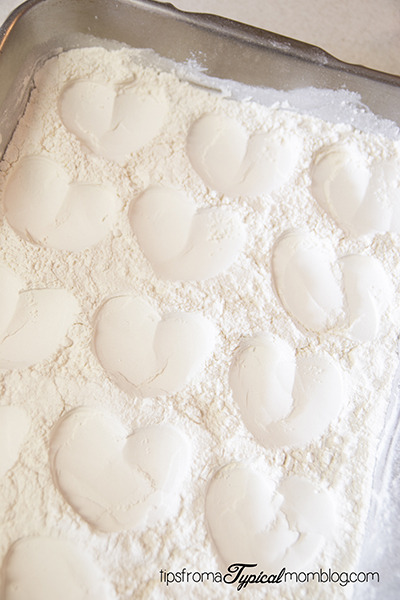
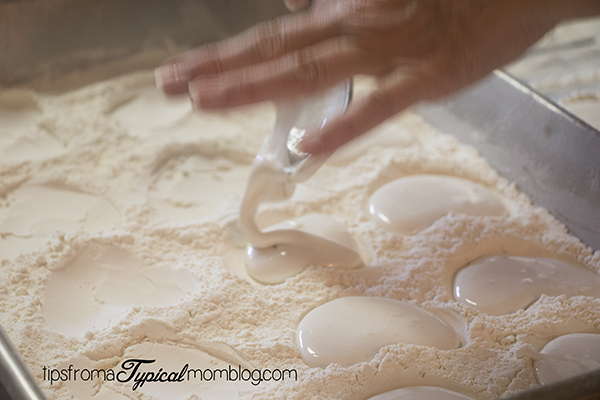
First we will make the “molds” with the flour. Using 2 cake pans pour enough flour until it’s about 1 inch thick. Make it a flat layer. Then with a teaspoon, create heart indentations in the flour. The smaller the hearts, the easier they are to dip in the chocolate (we learned this the hard way). Set aside and make the marshmallow.
To make the marshmallow, start off by adding the gelatin and 1/4 cup of cold water to a small bowl. Let the gelatin soak up the water then add the vanilla to it.
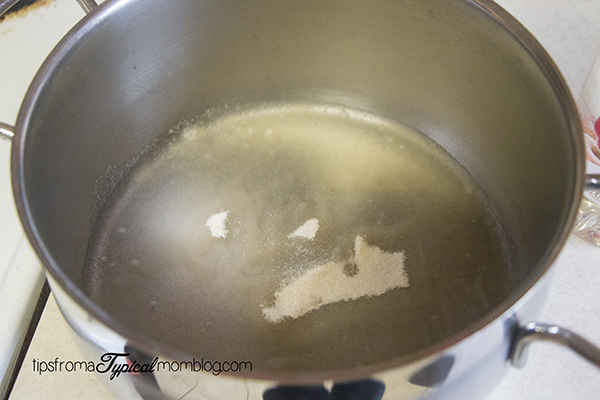
In medium sauce pan, stir the sugar, corn syrup and water (or cherry juice) together.
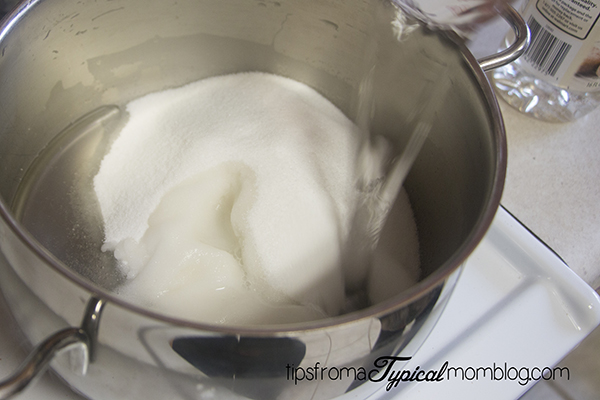
Turn on the burner to medium high and cook the mixture until the soft ball stage on a candy thermometer. DO NOT STIR the mixture at all while cooking. Once it is boiling, cover it with a lid.
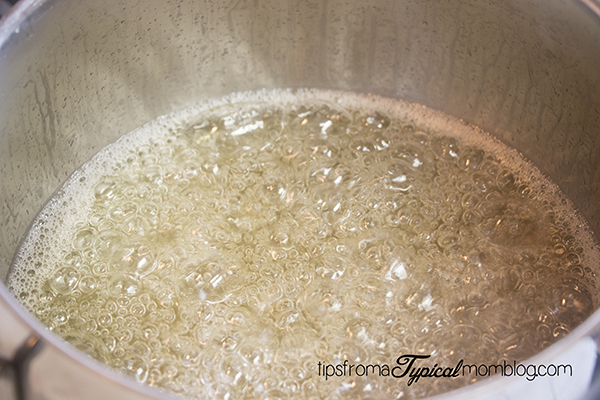
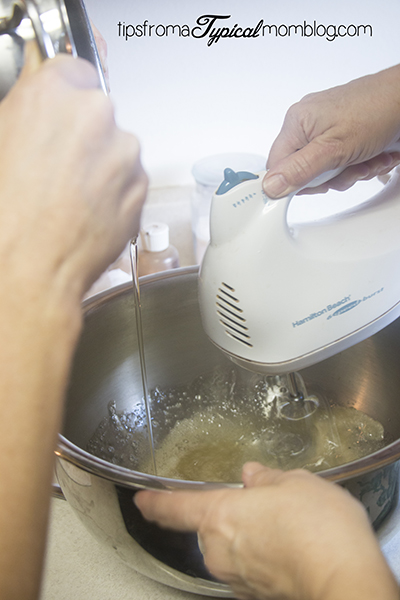
If you over cook it, just add a little bit of water to soften it up a bit. In a large stainless steel bowl (or the bowl of your stand mixture), add the gelatin mixture and turn on the beaters of a hand mixer (or the whisk on your stand mixer) and slowly pour the hot candy mixture into the gelatin. This is not a job for the kids! Whip until stiff, cool and very white and fluffy.
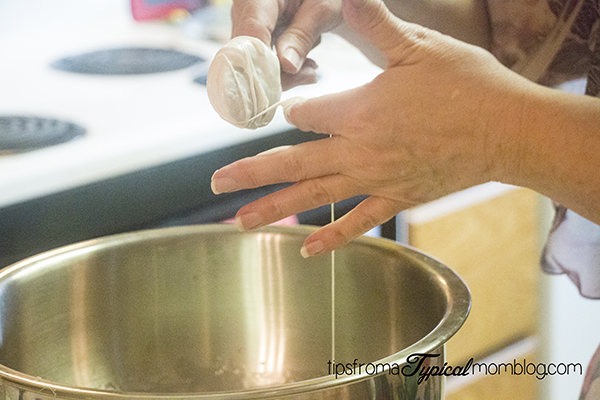
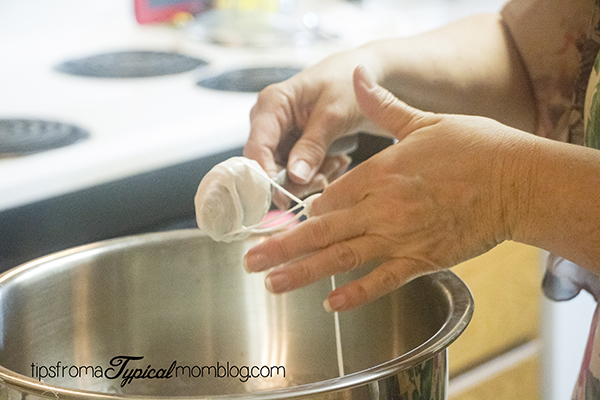
Using a teaspoon, scoop the marshmallow mixture out and twirl the threads around the spoon with your finger.
Pour into the flour molds and continue until all molds are full.
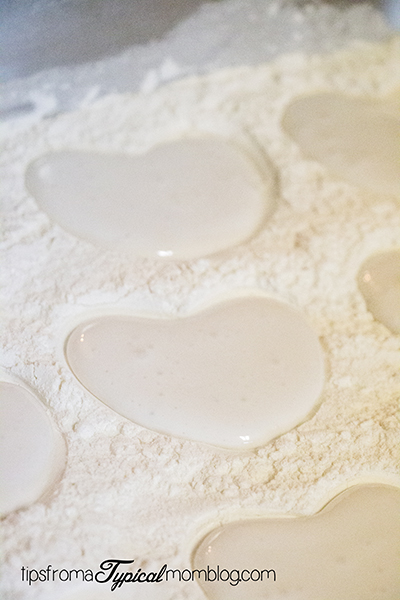
Let sit for at least 3 hours or over night to set up. When the marshmallow is set up, flip them over in the flour so they are not sticky.
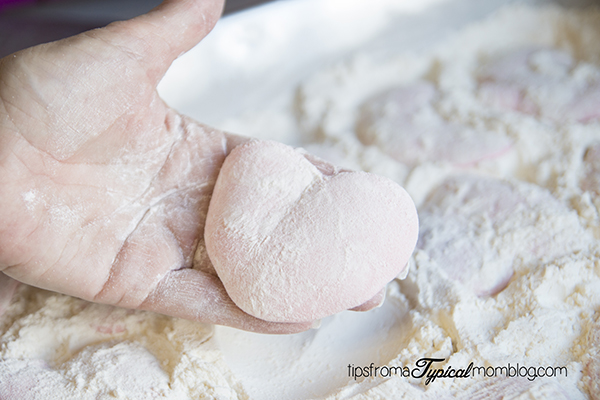
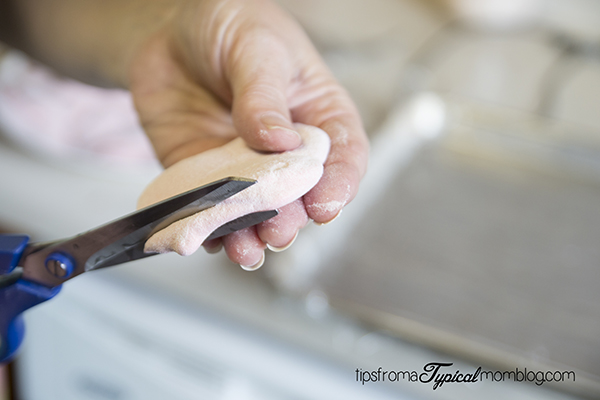
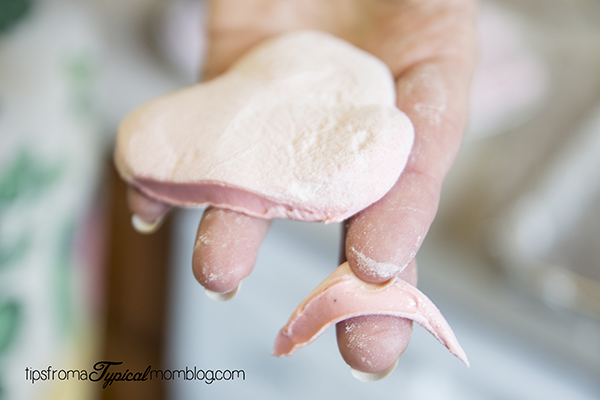
If any of the molds made the hearts look weird, you can trim them with WET scissors.
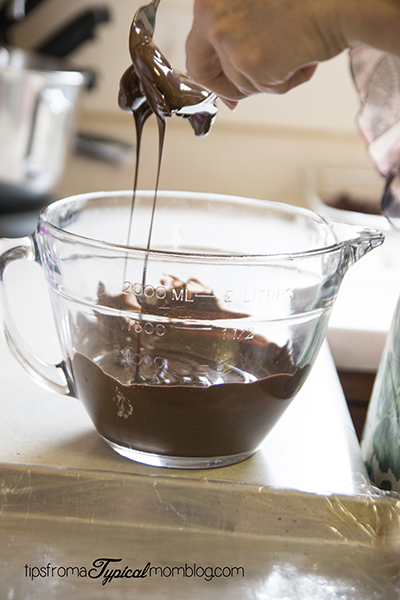
Line a cookie sheet with parchment paper or plastic wrap. Melt the chocolate according to package directions in a medium bowl. Using two forks cover the marshmallows with chocolate, flipping it over in the chocolate to coat.
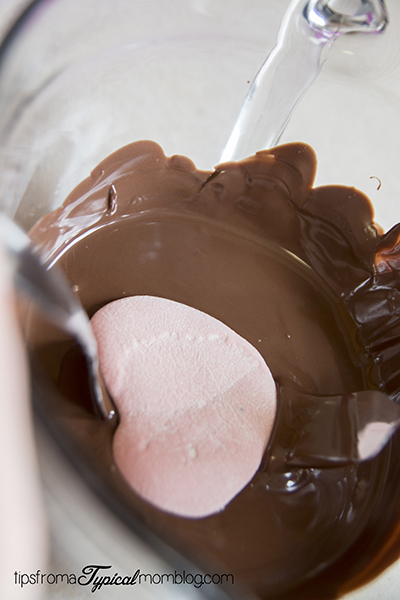
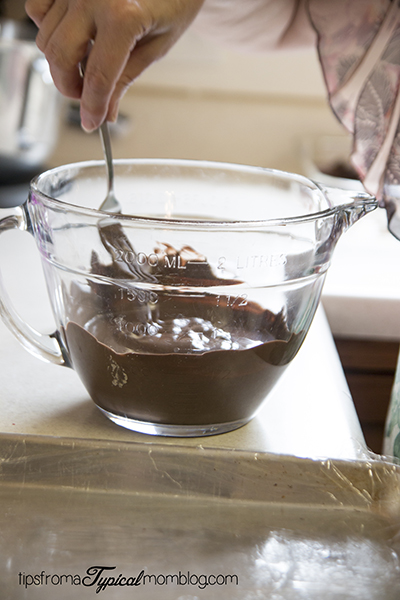
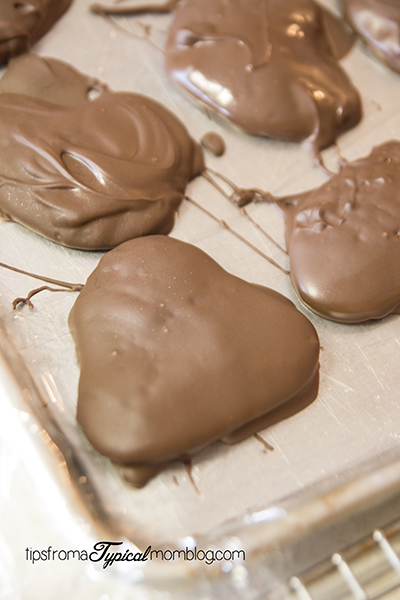
Let the extra chocolate drip off the marshmallow before placing it on the parchment paper lined cookie sheet. Continue with remaining marshmallows.
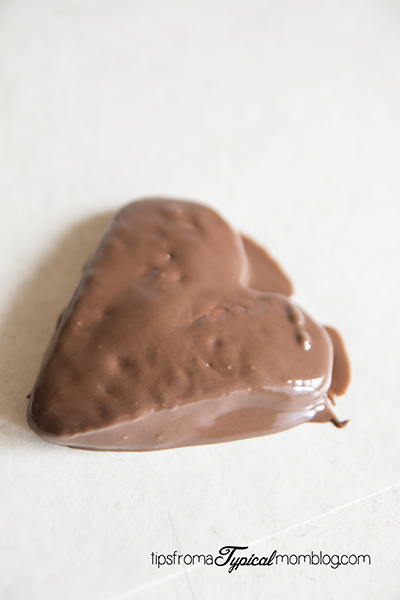
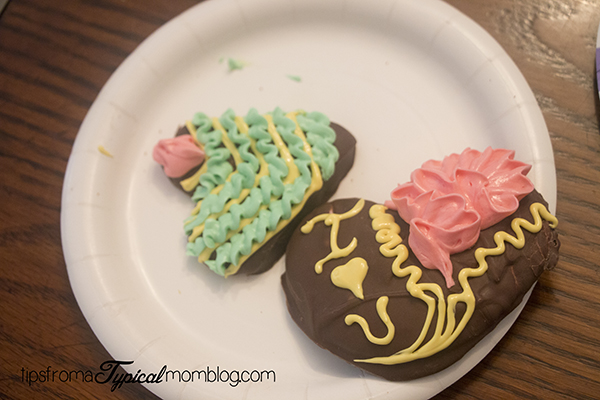
Let sit to harden then decorate with royal frosting. You can cut off any excess chocolate from around the hearts when they harden also, so they look a little nicer.
Royal Icing
Makes about 3 cups
- 4 cups (about 1 lb.) confectioners’ sugar
- 5 tablespoons warm water
Beat all ingredients until icing forms peaks (7-10 minutes at low speed with a heavy-duty mixer, 10-12 minutes at high speed with a hand-held mixer).
NOTE: Keep all utensils completely grease-free for proper icing consistency.* For stiffer icing, use 1 tablespoon less water.**When using large countertop mixer or for stiffer icing, use 1 tablespoon less water.
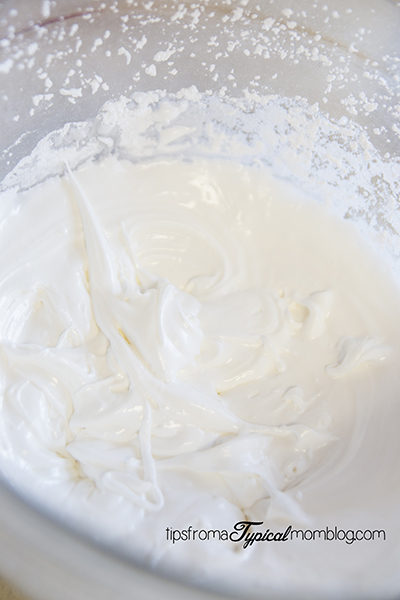
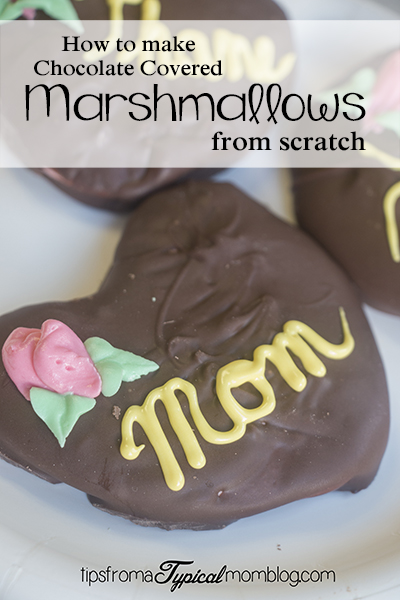
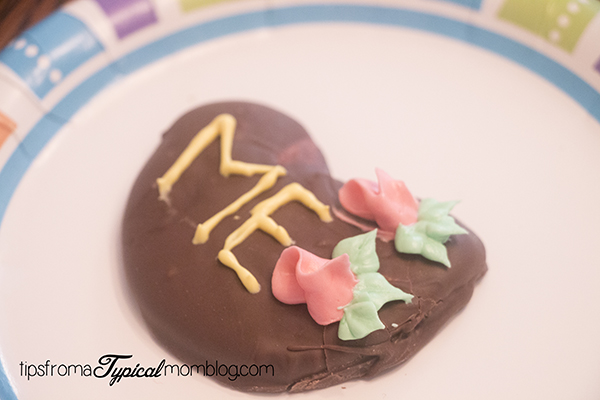
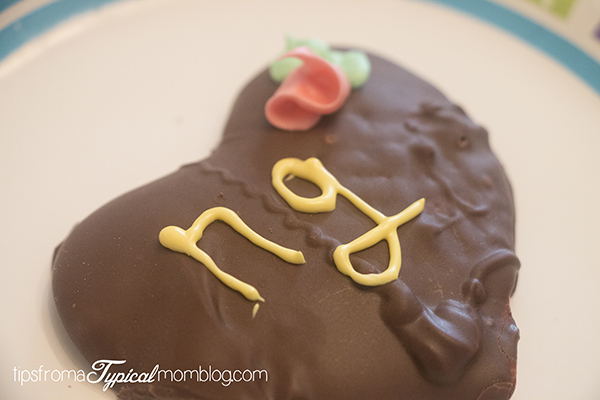
We divided the frosting into 3 bowls and dyed them with food coloring. Red (to make pink frosting), green and yellow. This is how Nana makes little rose buds with the rose bud attachment on the pastry bag. Start with the point down (slant going away from the plate) and squeeze. Wiggle one way then the other then pull away. You are basically making a “fan” fold. Then use the leaf tip to make leaves on the bottom of the rose buds and you are done!
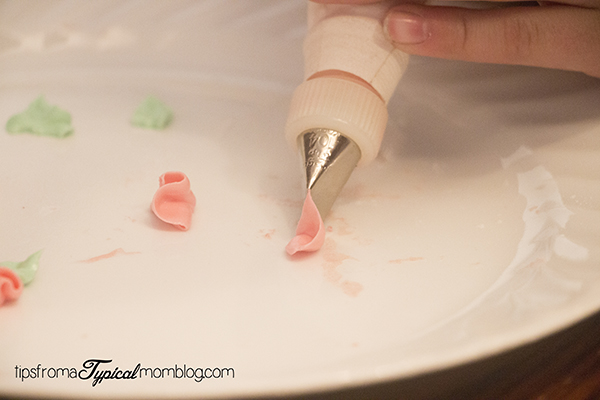
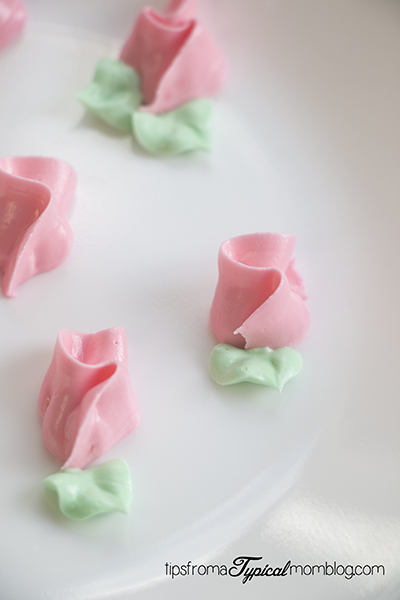
You can make the rosebuds on wax paper and wait for them to dry then transfer to the marshmallows with a dot of frosting, or you can just add the rosebud right to the marshmallow.
This is my daughters rosebud, pretty good huh? Much better than mine!
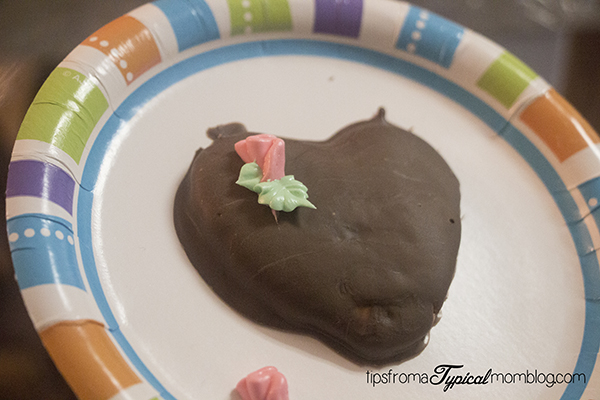
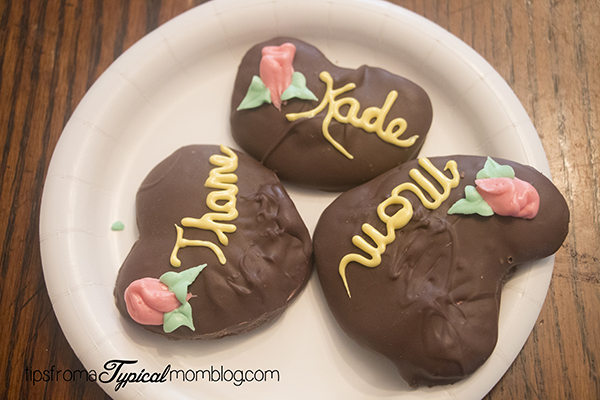
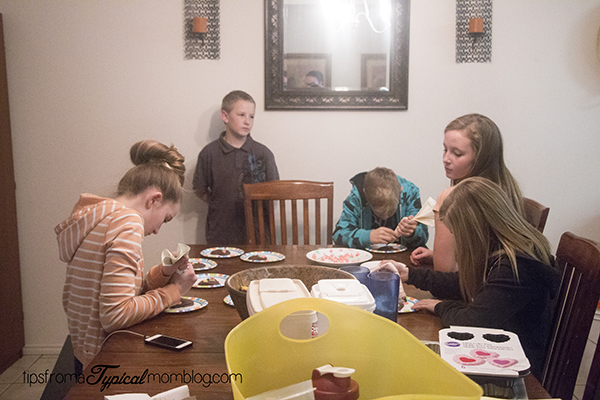
Then we used yellow to write the names on the marshmallows. The kids had a lot of fun with this part.
Enjoy making memories with your kids!
Ingredients
- 2 tablespoons gelatin
- 1/4 cup cold water
- 1 teaspoon vanilla
- 3/4 cup hot water or maraschino cherry juice if you want it cherry flavored and pink.
- 2 cups sugar
- 1/4 cup corn syrup (Karo)
- 1/8 teaspoon salt
- about 4 pounds of dipping chocolate
- 10 pound bag of flour (reusable, this flour will only be used to make a mold)
- Candy thermometer
Instructions
- First we will make the "molds" with the flour. Using 2 cake pans pour enough flour until it's about 1 inch thick. Make it a flat layer. Then with a teaspoon, create heart indentations in the flour. The smaller the hearts, the easier they are to dip in the chocolate (we learned this the hard way). Set aside and make the marshmallow.
- To make the marshmallow, start off by adding the gelatin and 1/4 cup of cold water to a small bowl. Let the gelatin soak up the water then add the vanilla to it. In medium sauce pan, stir the sugar, corn syrup and water (or cherry juice) together. Turn on the burner to medium high and cook the mixture until the soft ball stage on a candy thermometer. DO NOT STIR the mixture at all while cooking. Once it is boiling, cover it with a lid. If you over cook it, just add a little bit of water to soften it up a bit. In a large stainless steel bowl (or the bowl of your stand mixture), add the gelatin mixture and turn on the beaters of a hand mixer (or the whisk on your stand mixer) and slowly pour the hot candy mixture into the gelatin. This is not a job for the kids! Whip until stiff, cool and very white and fluffy.
- Using a teaspoon, scoop the marshmallow mixture out and twirl the threads around the spoon with your finger. Pour into the flour molds and continue until all molds are full. Let sit for at least 3 hours or over night to set up. When the marshmallow is set up, flip them over in the flour so they are not sticky. If any of the molds mad the hearts look weird, you can trim them with WET scissors.
- Line a cookie sheet with parchment paper or plastic wrap. Melt the chocolate according to package directions in a medium bowl. Using two forks cover the marshmallows with chocolate, flipping it over in the chocolate to coat. Let the extra chocolate drip off the marshmallow before placing it on the parchment paper lined cookie sheet. Continue with remaining marshmallows. Let sit to harden then decorate with royal frosting.



Leave a Reply