“This post contains affiliate links.”
There is this store in Utah. It is the devil. It’s called The Wood Connection.
I can not go in there without coming out with tons of stuff that I don’t have room for. Everything in there is so “cute” and “adorable”. I could spend hours in there if I had the time. AND it’s a tiny little store. I was in there the other day and I couldn’t leave without buying the stuff to make this cute Halloween/ Thanksgiving Sign. All the stuff for it cost about $5 too! So affordable, and would be perfect for a Super Saturday Craft Day.
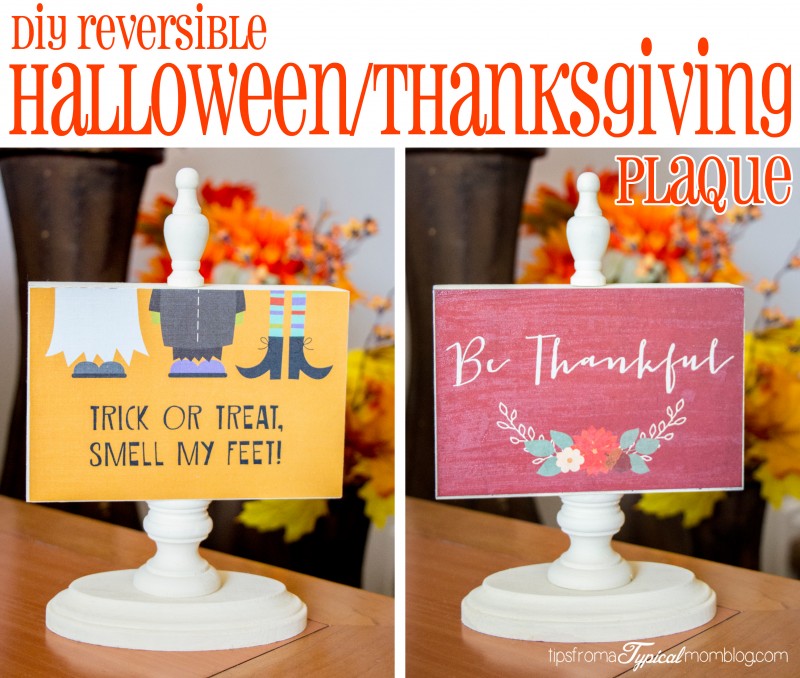
You can order all the pieces for this project on The Wood Connection Website. Just click on the item and you’ll be taken to the order page.
What you’ll need:
- One Candle Cup
- One 4×6 Horizontal Photo block with Hole and Small Finial * Note: you must order the finial separately on the same page as the Photo Block. My finial is different because I chose a different one in the store.
- One Oval Plaque
- Paint color of your choice, these are cute black too.
- Scrapbook paper with 4×6 designs made for journaling (I got mine at the wood store, they don’t sell these online. Most Scrapbook stores will carry paper similar to this.)
- Mod Podge Matte Finish
- Paint Brush
- Sponge brush
- Hot Glue or E6000® Craft Adhesive
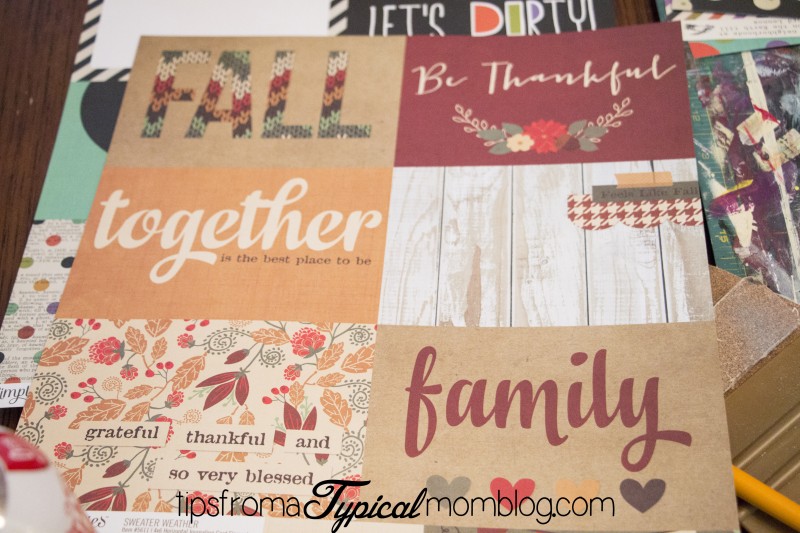
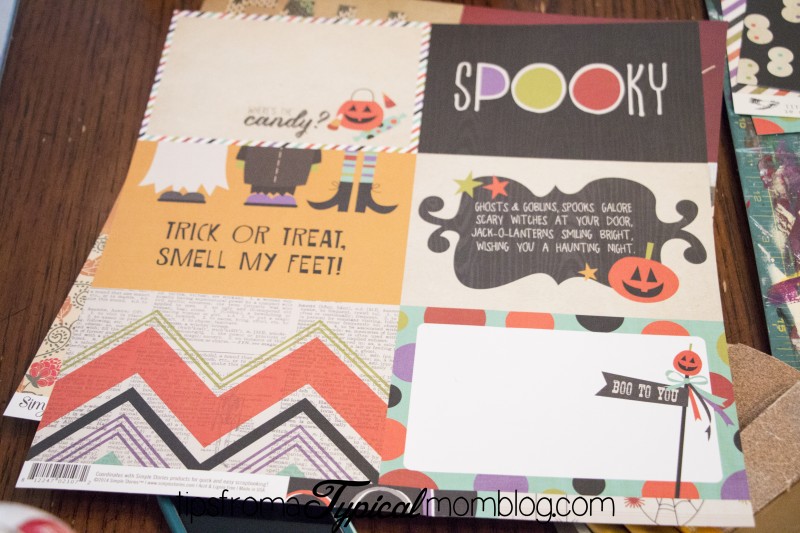
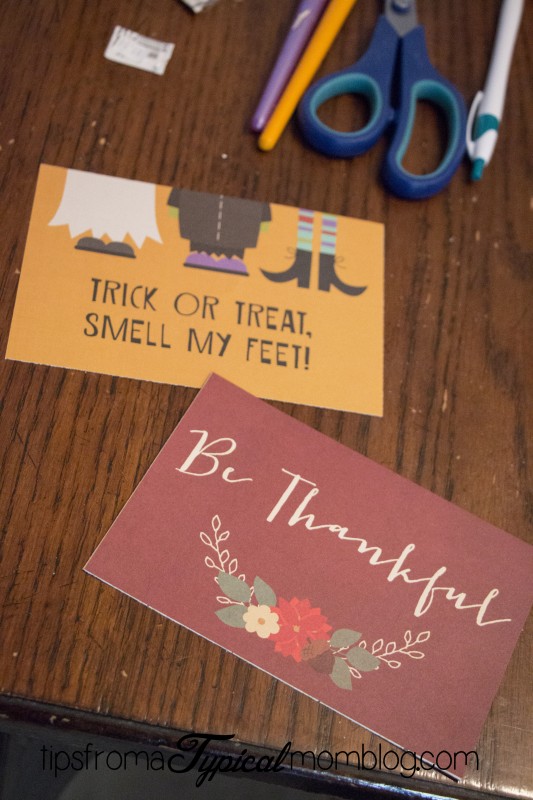
This is what my scrapbook paper looked like:
And my supplies:

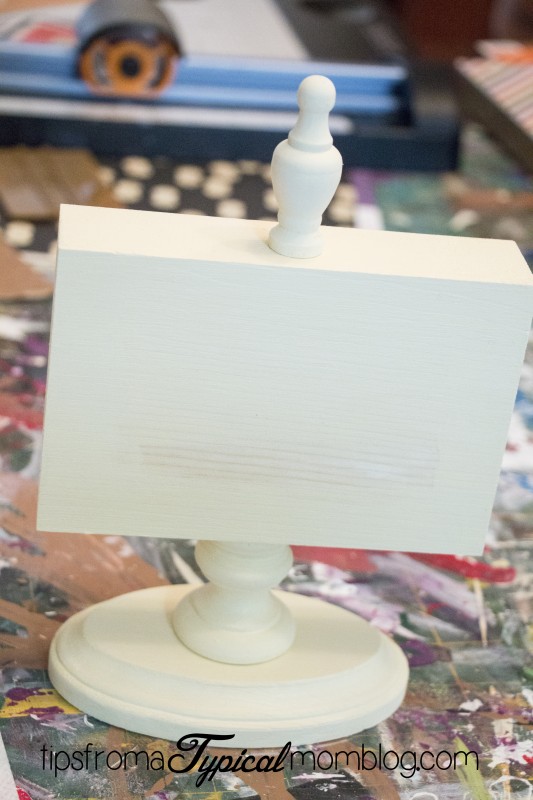
Start out by sanding and painting all the wood pieces. You don’t need to get paint in the center of the photo block because it will be covered by paper.
Cut out your journaling paper with a rotary cutter or paper cutter so the line is perfectly straight.
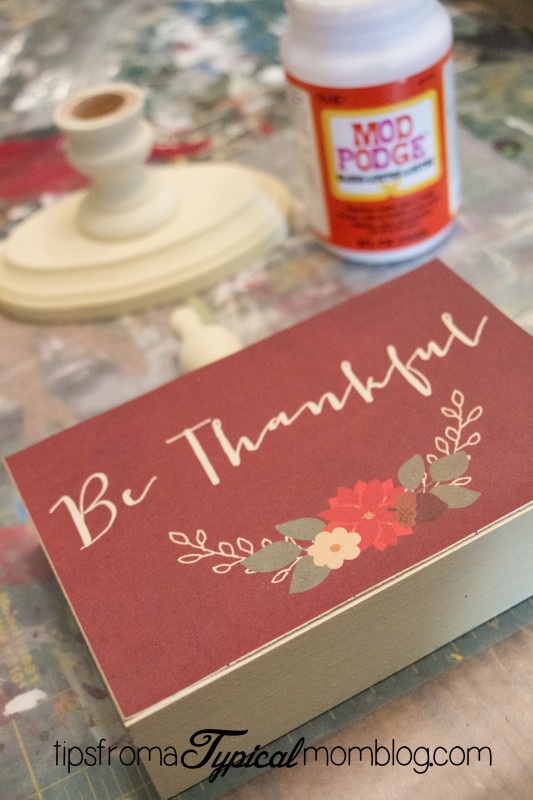
Now, on the photo block, using the sponge brush, add a layer of Mod Podge and then smooth the paper on top of it. *Make sure you are gluing right side up. The hole should be at the top of the photo block.*

Let dry for a minute, then add another layer of Mod Podge on top of the paper.
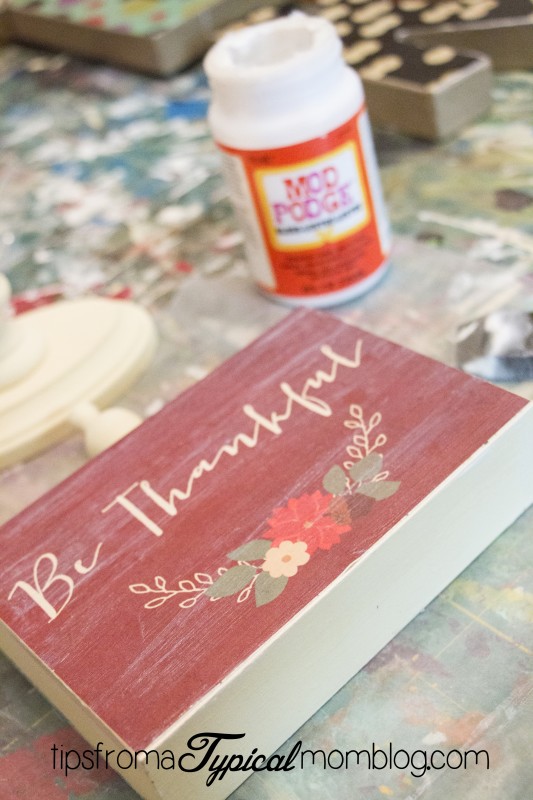
After the Mod Podge is dry, do the other side with the other scrapbook paper.
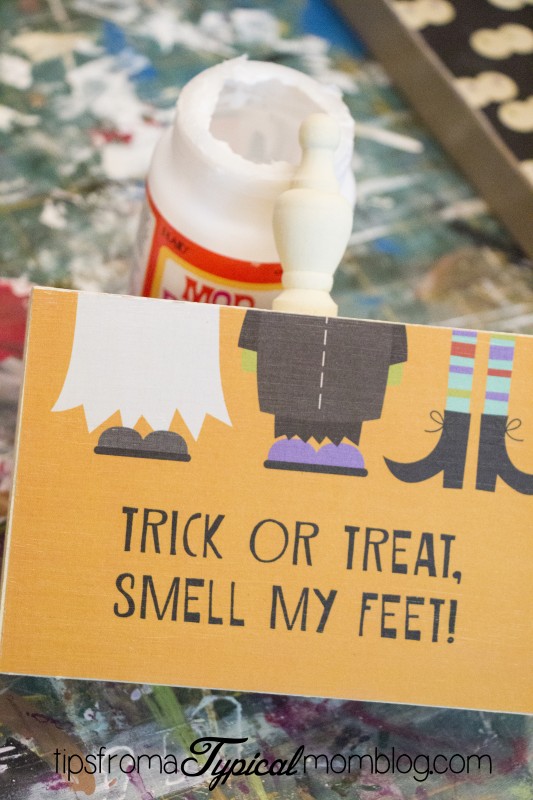
Now using hot glue or E6000 Craft Adhesive, glue the candle cup to the center of the oval plaque. Then glue the finial into the hole at the top of the photo block. Now being sure to align the photo block centered on the candle cup and aligned with the oval plaque, glue the photo block to the candle cup.
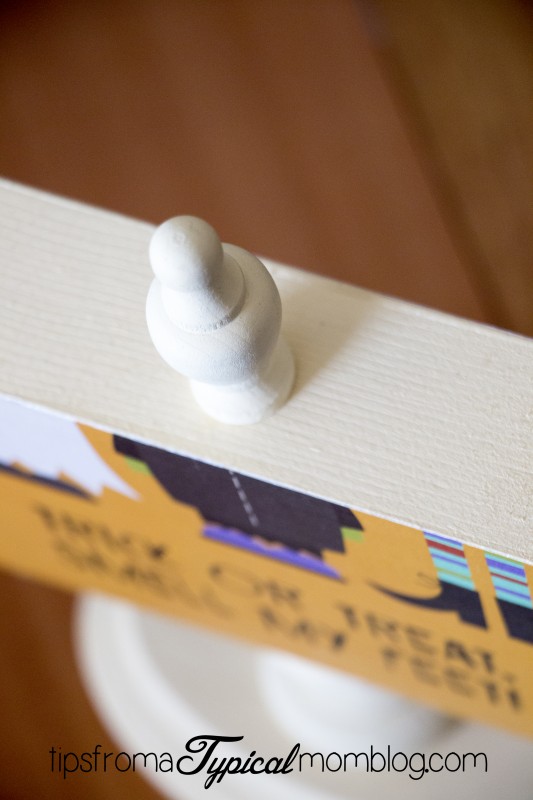
You’re done! So easy and cute! I always love something that can be used for more than one thing. You could make this for any holiday too. This also would be an amazing way to display your family photos.



Love this!