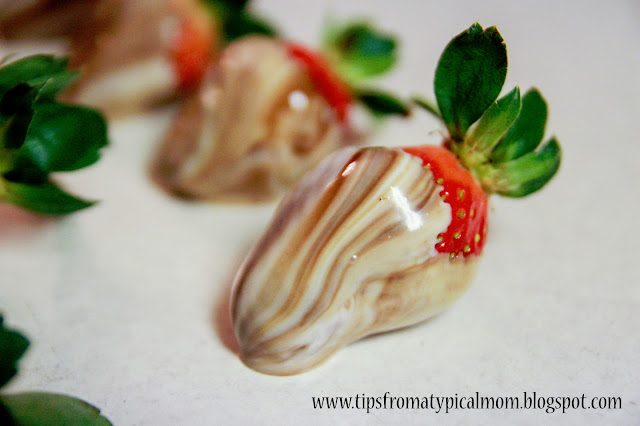
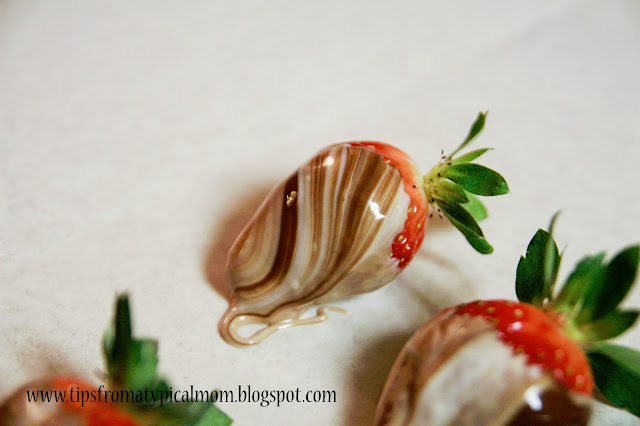
He thought it would be a good idea to help out all those fella’s who are in the same boat as him and show them how to make Chocolate Covered Strawberries themselves at home. It’s really easy if you just buy the things we suggest. They literally come together in minutes. So here is our How to Make Chocolate Covered Strawberries tutorial! We even had a lot of fun swirling the chocolates together to make Swirled Chocolate Covered Strawberries! Cute huh?
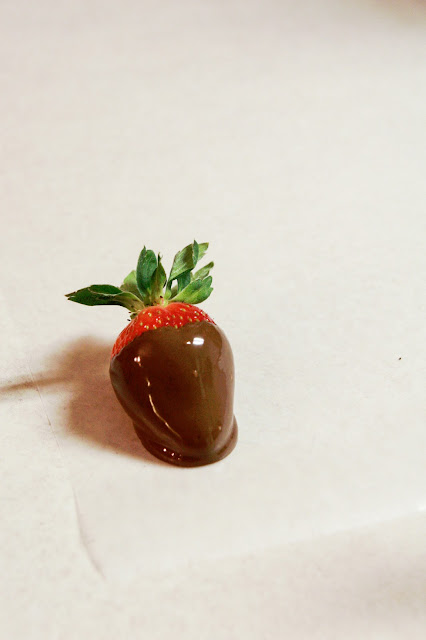
I couldn’t decide on a title picture, so I’ll show you this one too, just in case you want to pin a “normal” chocolate covered strawberry.
You do pin my pictures right? I knew you did, I love you too! Did you know that pinning images from your favorite blogs helps them to keep on blogging cause it creates traffic? So as a common courtesy, please pin away and also share on Facebook 🙂 Thanks.
Anyhoo, on with the tutorial…by the way, those are my hubby’s hands and arms in the tutoral pictures. NO I don’t have super hairy arms 😉
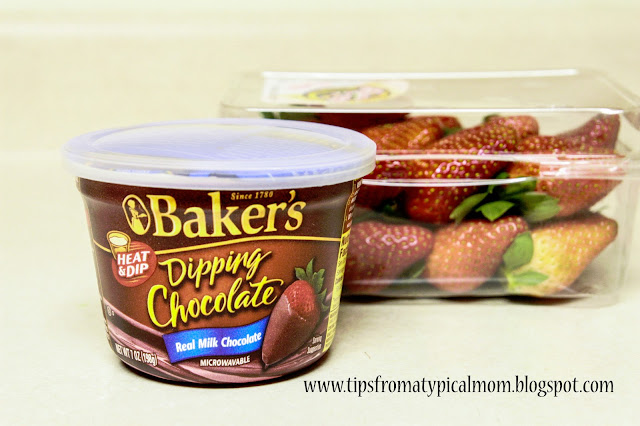
Step One: Get some good melting chocolate, well I don’t know if it’s considered good by chocolateers, but this is the easy stuff you can melt in the microwave. Easy is the key word here.
We like Bakers. It even comes in a cup specifically made for dipping. Set out a layer of wax paper on the counter.
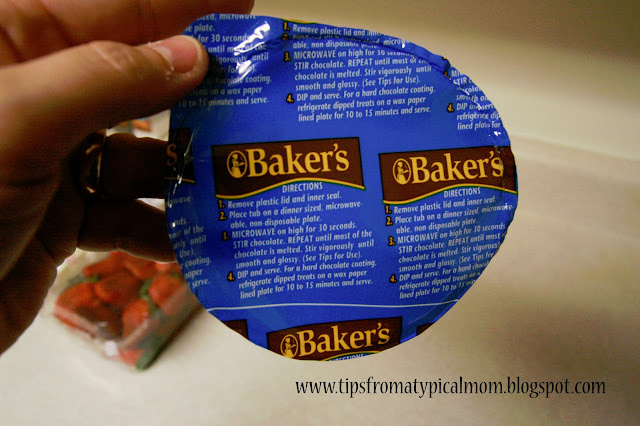
AND the melting instructions are even on the lid!
We also like Wilton Candy melts, but they aren’t as chocolatey.
Step two: Wash the strawberries and let them DRY COMPLETELY. Use a paper towell to help out here. There can be absolutely NO water on the strawberries or it will ruin the chocolate.
Step Three: Melt the chocolate according to package directions.
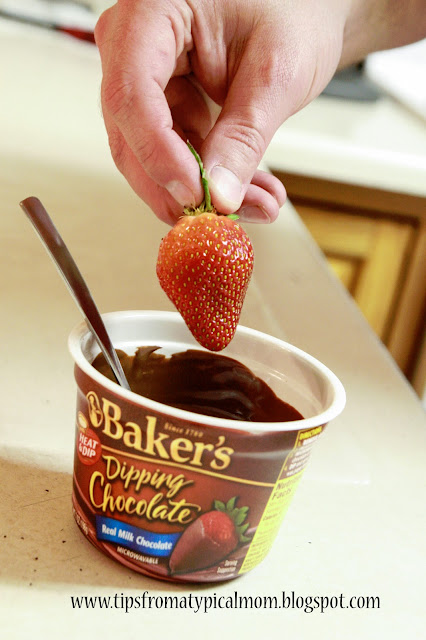
Step Four: Hold ALL the leaves of the strawberry
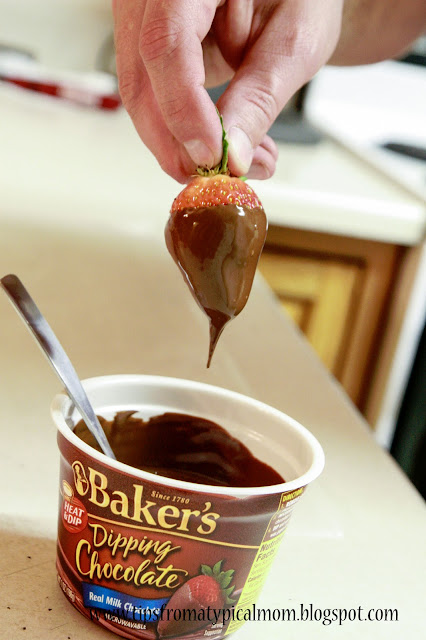
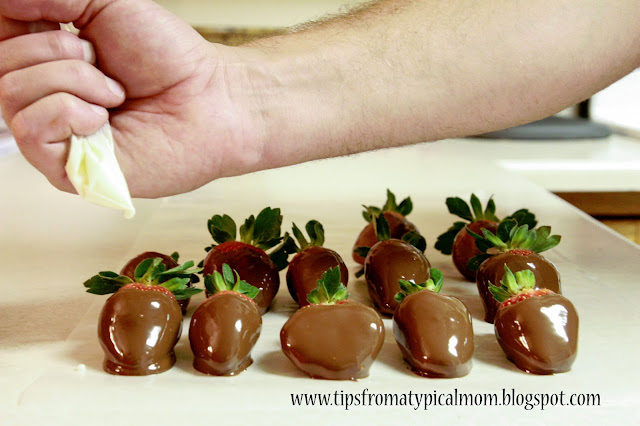
Step Five: Dip the strawberry making sure you get an even coat all around. Lightly scrape the chocolate off the bottom of the strawberry on the side of the bowl (this prevents too much of a puddle) and place the strawberry on wax paper.
Now you can stop… or continue for fancy strawberries.
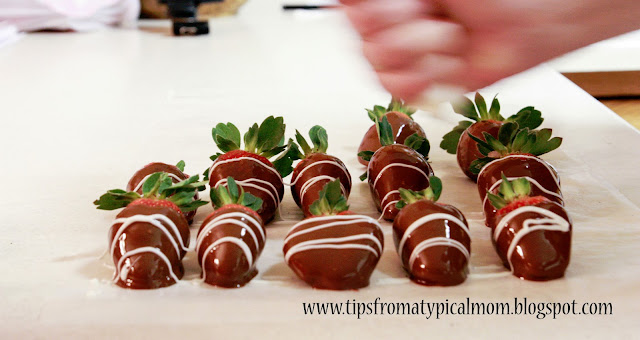
Melt some of the white chocolate and add it to a zip lock baggie. Snip off a SMALL amount of the corner of the bag. Using the bag as a pastry bag, quickly move your hand over the top of the strawberries continuing off the strawberries, back and forth, back and forth. Gently squeezing the bag as you go.
We did a whole line at a time.
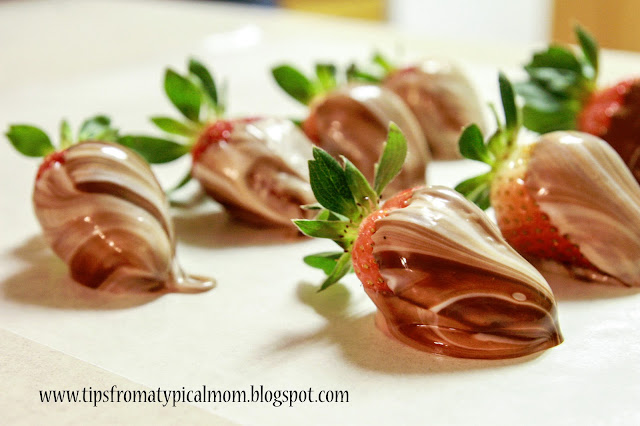
Now if you want the swirled ones, just add a little bit of brown chocolate to the white chocolate and swirl with a knife or fork. Not too much!
Laying the strawberries flat into the chocolate and lifting straight up will help the swirls not mix up too much. Dip one side at a time while holding onto the leaves. And viola~!
Enjoy your Sweet Valentines Day!
Remember to share by pinning and facebooking! Happy Valentines day!








Just wondering if the chocolate strawberries can be frozen after they are dried from dipping? I also got your sugar cookie recipe. I am a mom, but I really think some of your projects will help me connect with my grandchildren. Like the hand print recipe, I plan on doing very soon. .? About the dough for handprints, can the dough be saved in airtight containers for any amount of time so I can prepare it before the visit? If so, for how long? Thanks so much for your ideas they are well appreciated.
Sharon
Hi Sharon, Thanks for you comments. I’m not sure about freezing the strawberries because I think when they thaw, they will weep and make a big mess with the chocolate! These are better served right after they are made. You can refrigerate them for a few days though. The dough recipe can be stored in an airtight container at room temperature for a few days also.